I’ve got bit by this baking bug, particularly with these Cozonaci which are a traditional Romanian “Panettone” served on big occasions such as Christmas or Easter. But this bug bit me not because of me seeing people baking the stuff on the net, but rather because of my Mom-in-Law’s simple question : “can we use the big mixer to mix/ knead Cozonaci?”. This is a simple inquiry which has proven unexpectedly difficult to answer as questions about relative volumes, effective bowl capacities, with respect to the power needed to do the work without making a mess or killing the motor, have rendered various, and mostly contradictory answers from the sources available, including from Kitchen Aid, the makers of this stand mixer.
For instance some instructions for my 5qt. capacity bowl say 1kg of flour should be no problem. Other however will limit this capacity to 500 or 750 grams. A simple empirical measurement will give credence to the lower numbers, especially considering one will have to add more ingredients to make a dough. Once I’ve come up with this answer, my Mom-in-Law decided to shut down the project. In flames. And that was that.
Unfortunately I’m of an engineering background and once my little mental gears get themselves going, I have to follow thru until I find a satisfactory answer. So the result and what follows here, is a recipe designed specifically with a stand mixer in mind, compiled from several sources but using some engineering logic to try and determine what combination of ingredients and technique will yield the best results. And record them for posterity, fame and fortune. Here goes.
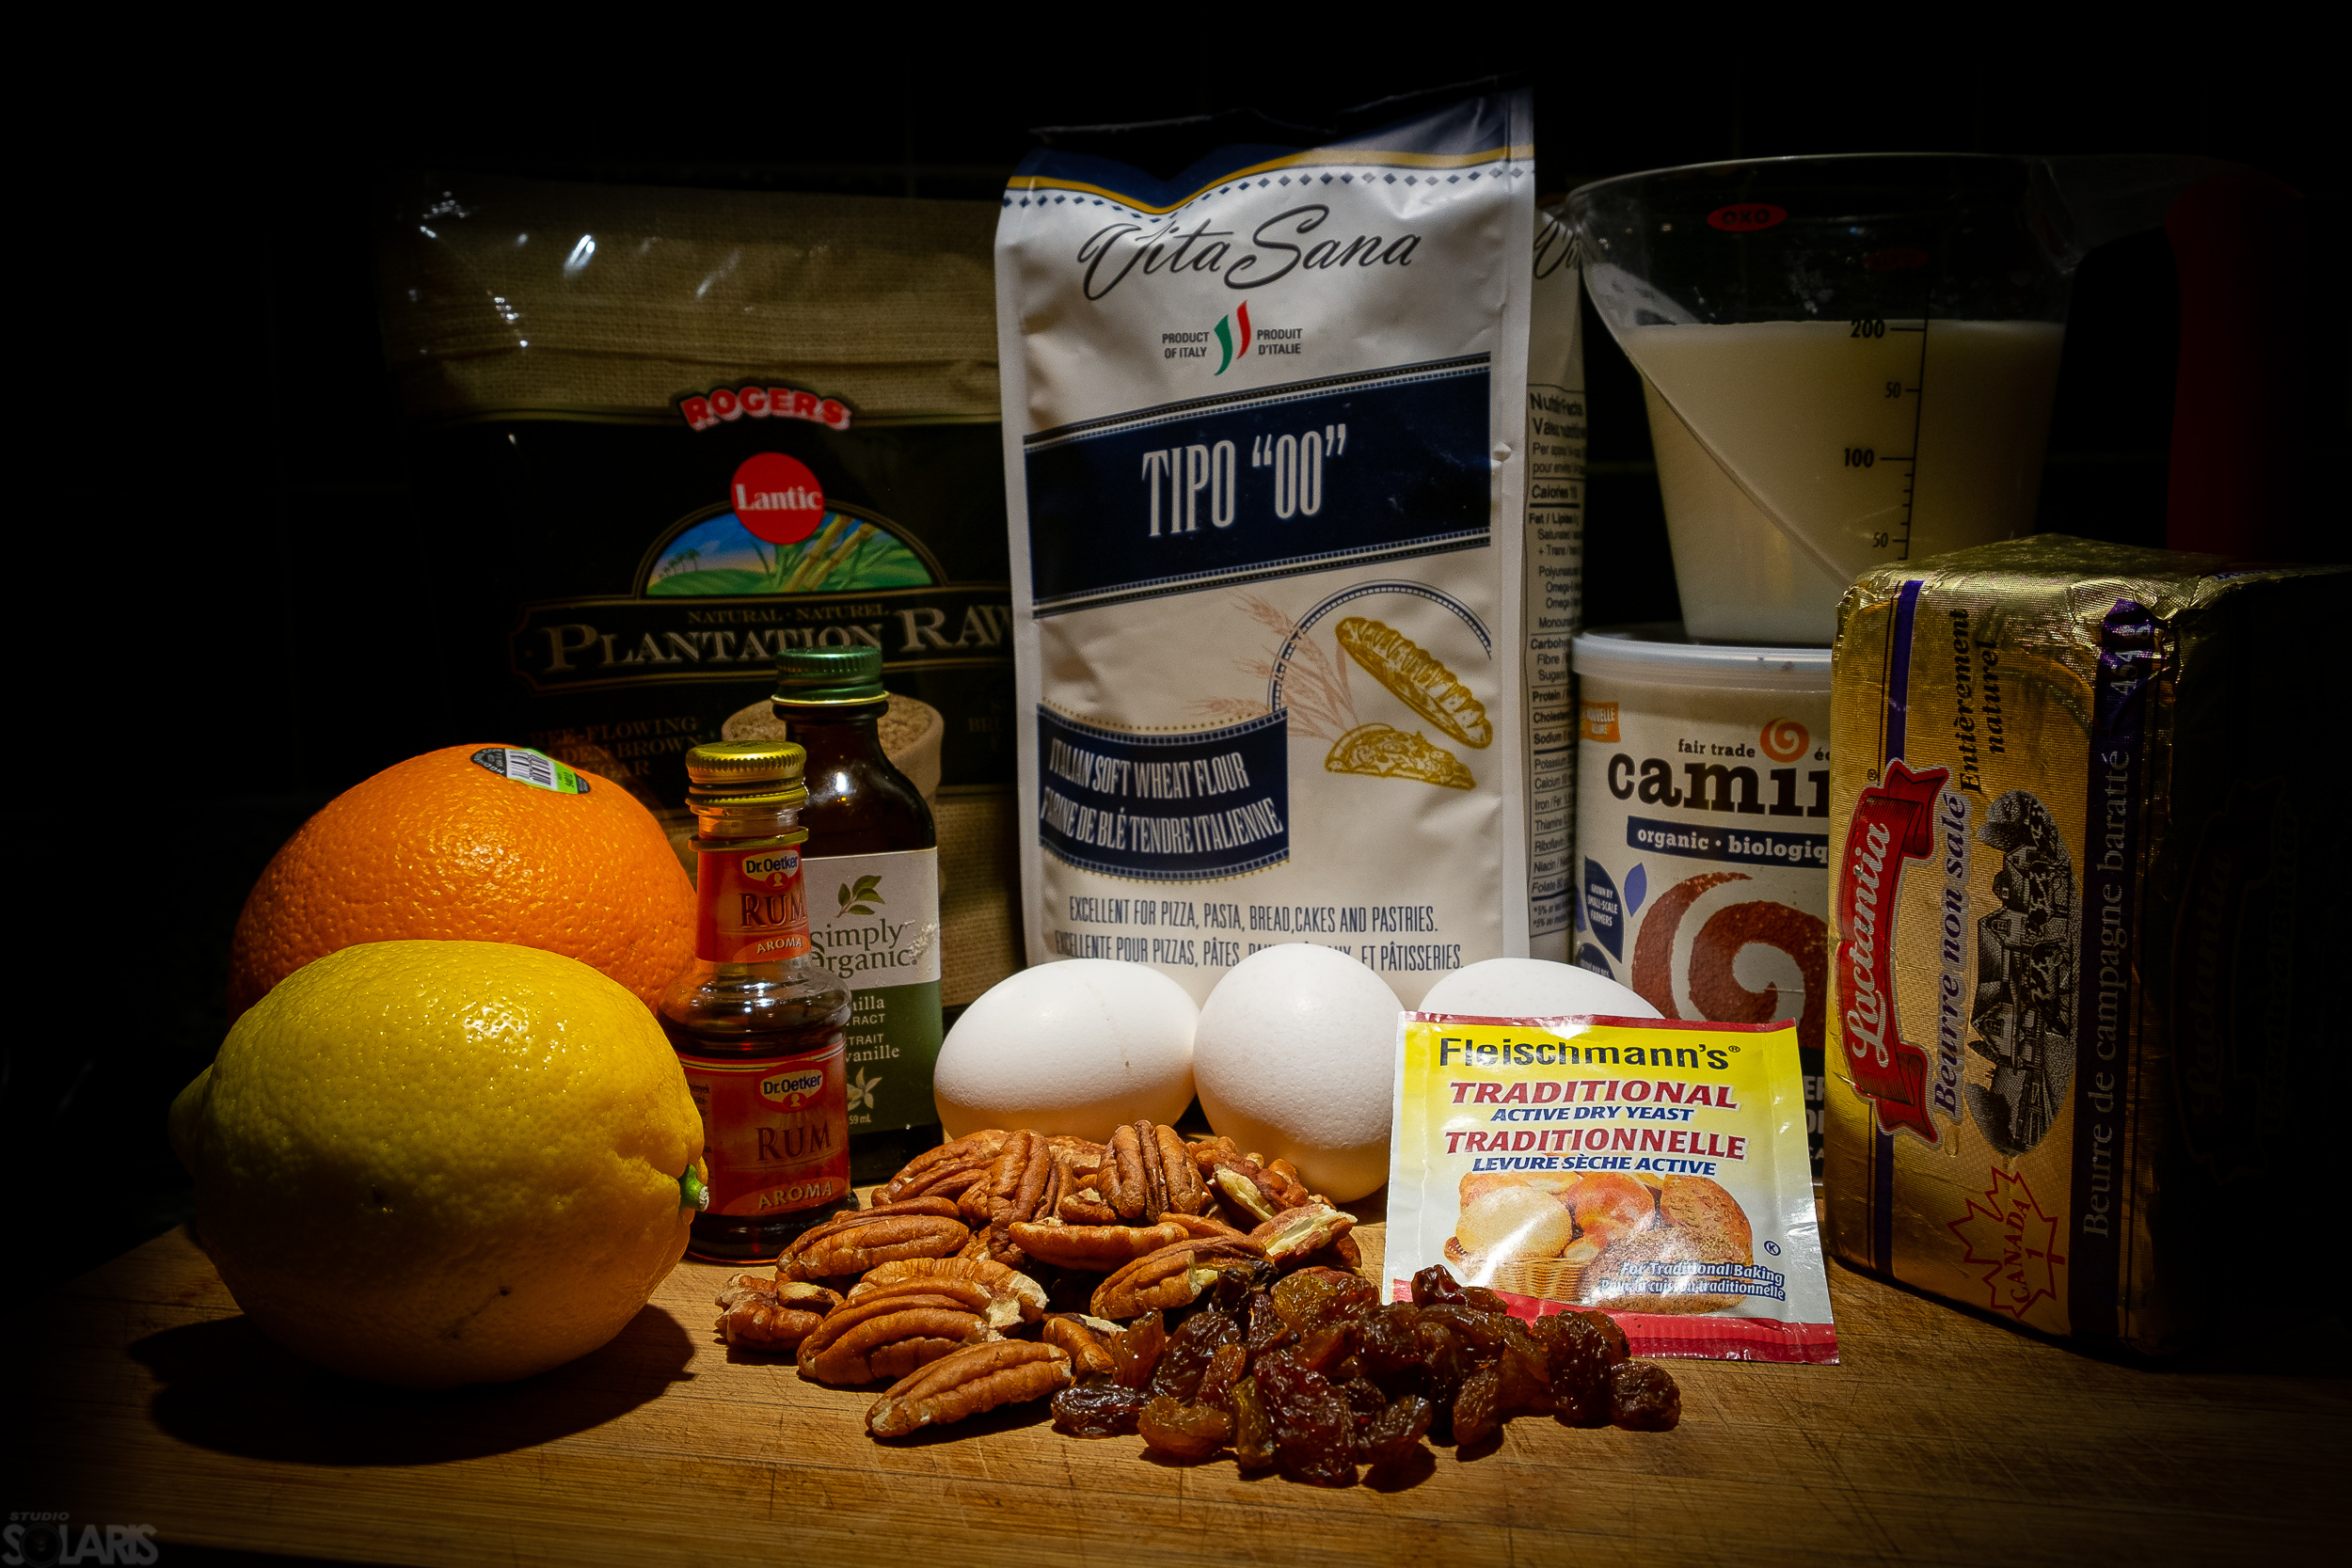
I usually follow NYT’ Sam Sifton’s philosophy and don’t necessarily provide quantities in my recipes but this is baking … So for the dough:
- 500g of Tipo “00” flour.
- 8g Active dry yeast.
- 75g brown sugar (I’ll make some notes about this lower)
- 200-225ml Whole milk, preferably something with 3-4% fat.
- 100g of softened or melted butter.
- 3 egg yolks.
- 2 good tsp of orange zest.
- A pinch of salt, 10g or so.
Most recipes I’ve encountered also include oil which here is missing. The consensus of the sources I consulted look for around 50ml of some form of vegetable oil but I decided to avoid the complication and substitute a little more butter instead towards the end of the kneading. Anyway, here are the ingredients for the “filling”.
- 150g of minced walnuts or pecans or a mix of both.
- 50g of brown sugar.
- The 3 egg whites resulted from the dough. No waste here, OK?
- 2 tbsp Cocoa powder.
- 2 good tsp of orange zest.
- 1 tsp vanilla extract.
- 1 tsp rum extract.
- 60g of sultanas.
- 5g of salt.
All of the above needs to be room temperature or slightly warmed.
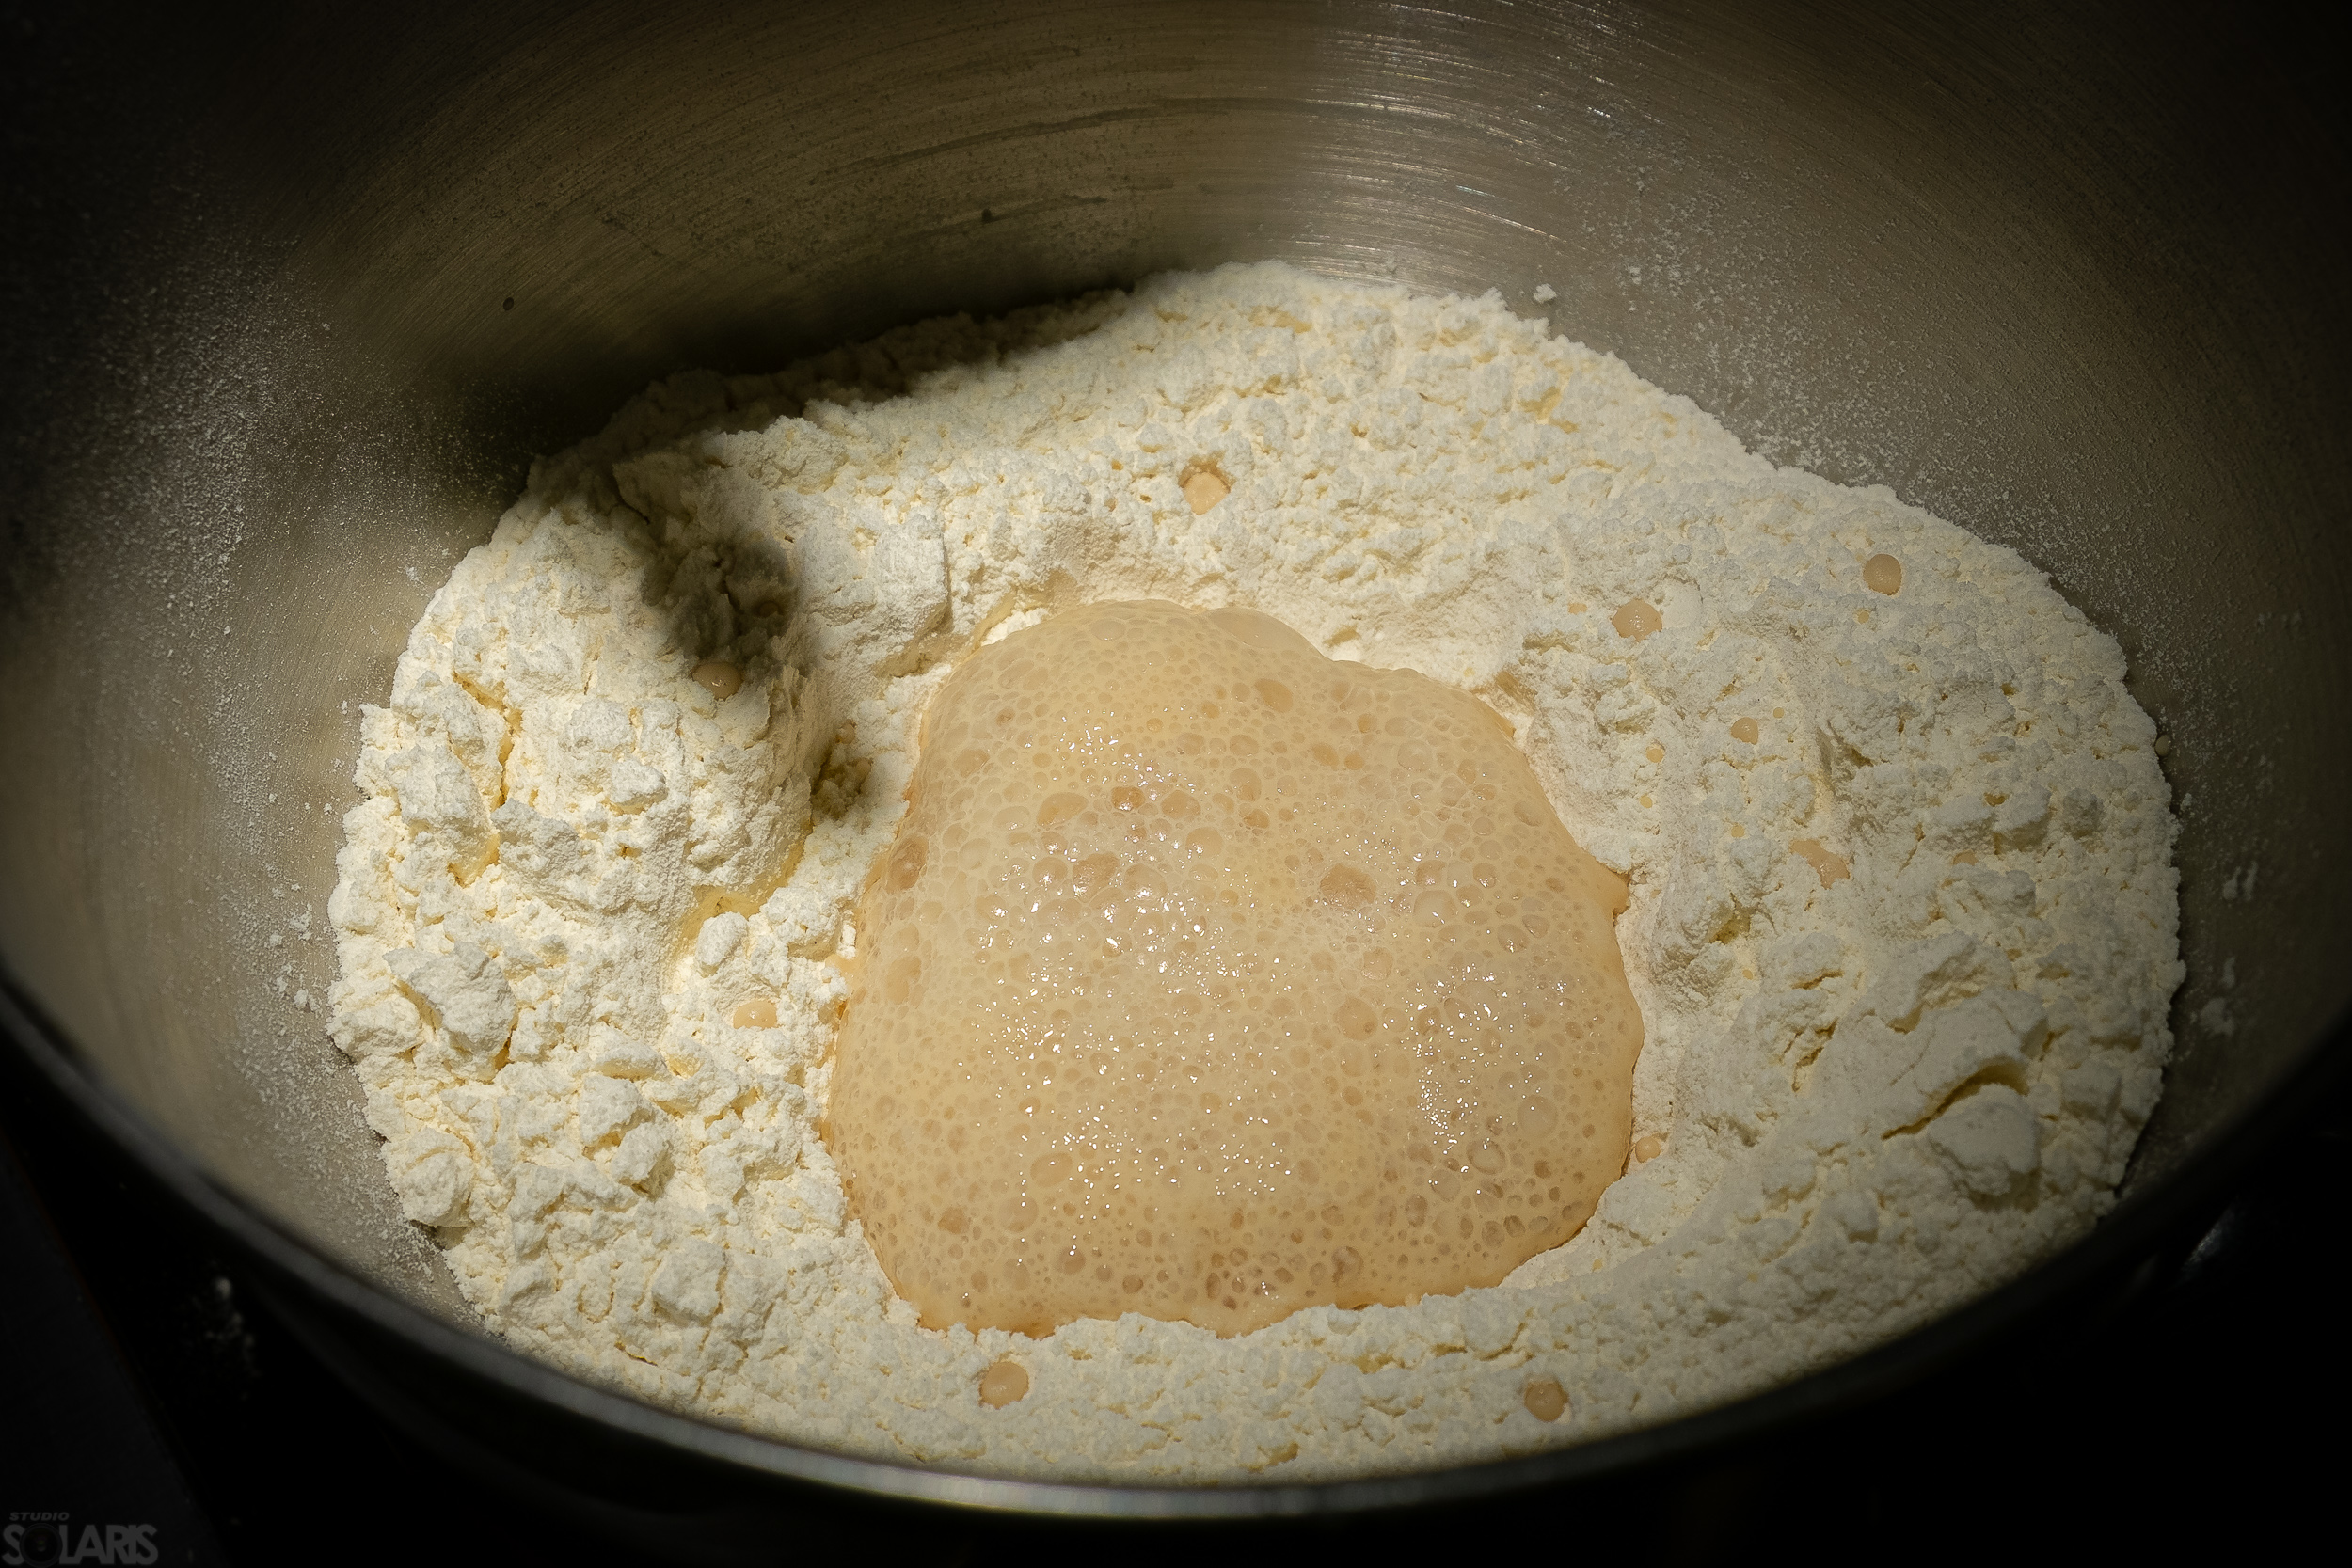
I sifted the flour three times, as the canon requires, but I bet good money once or twice would have been good enough, considering we will use the mixer. Just before sifting the flour, I activated the yeast closely following the instructions on the little pack. When the yeast was activated I set it inside a little “well” created in the flour to receive it.
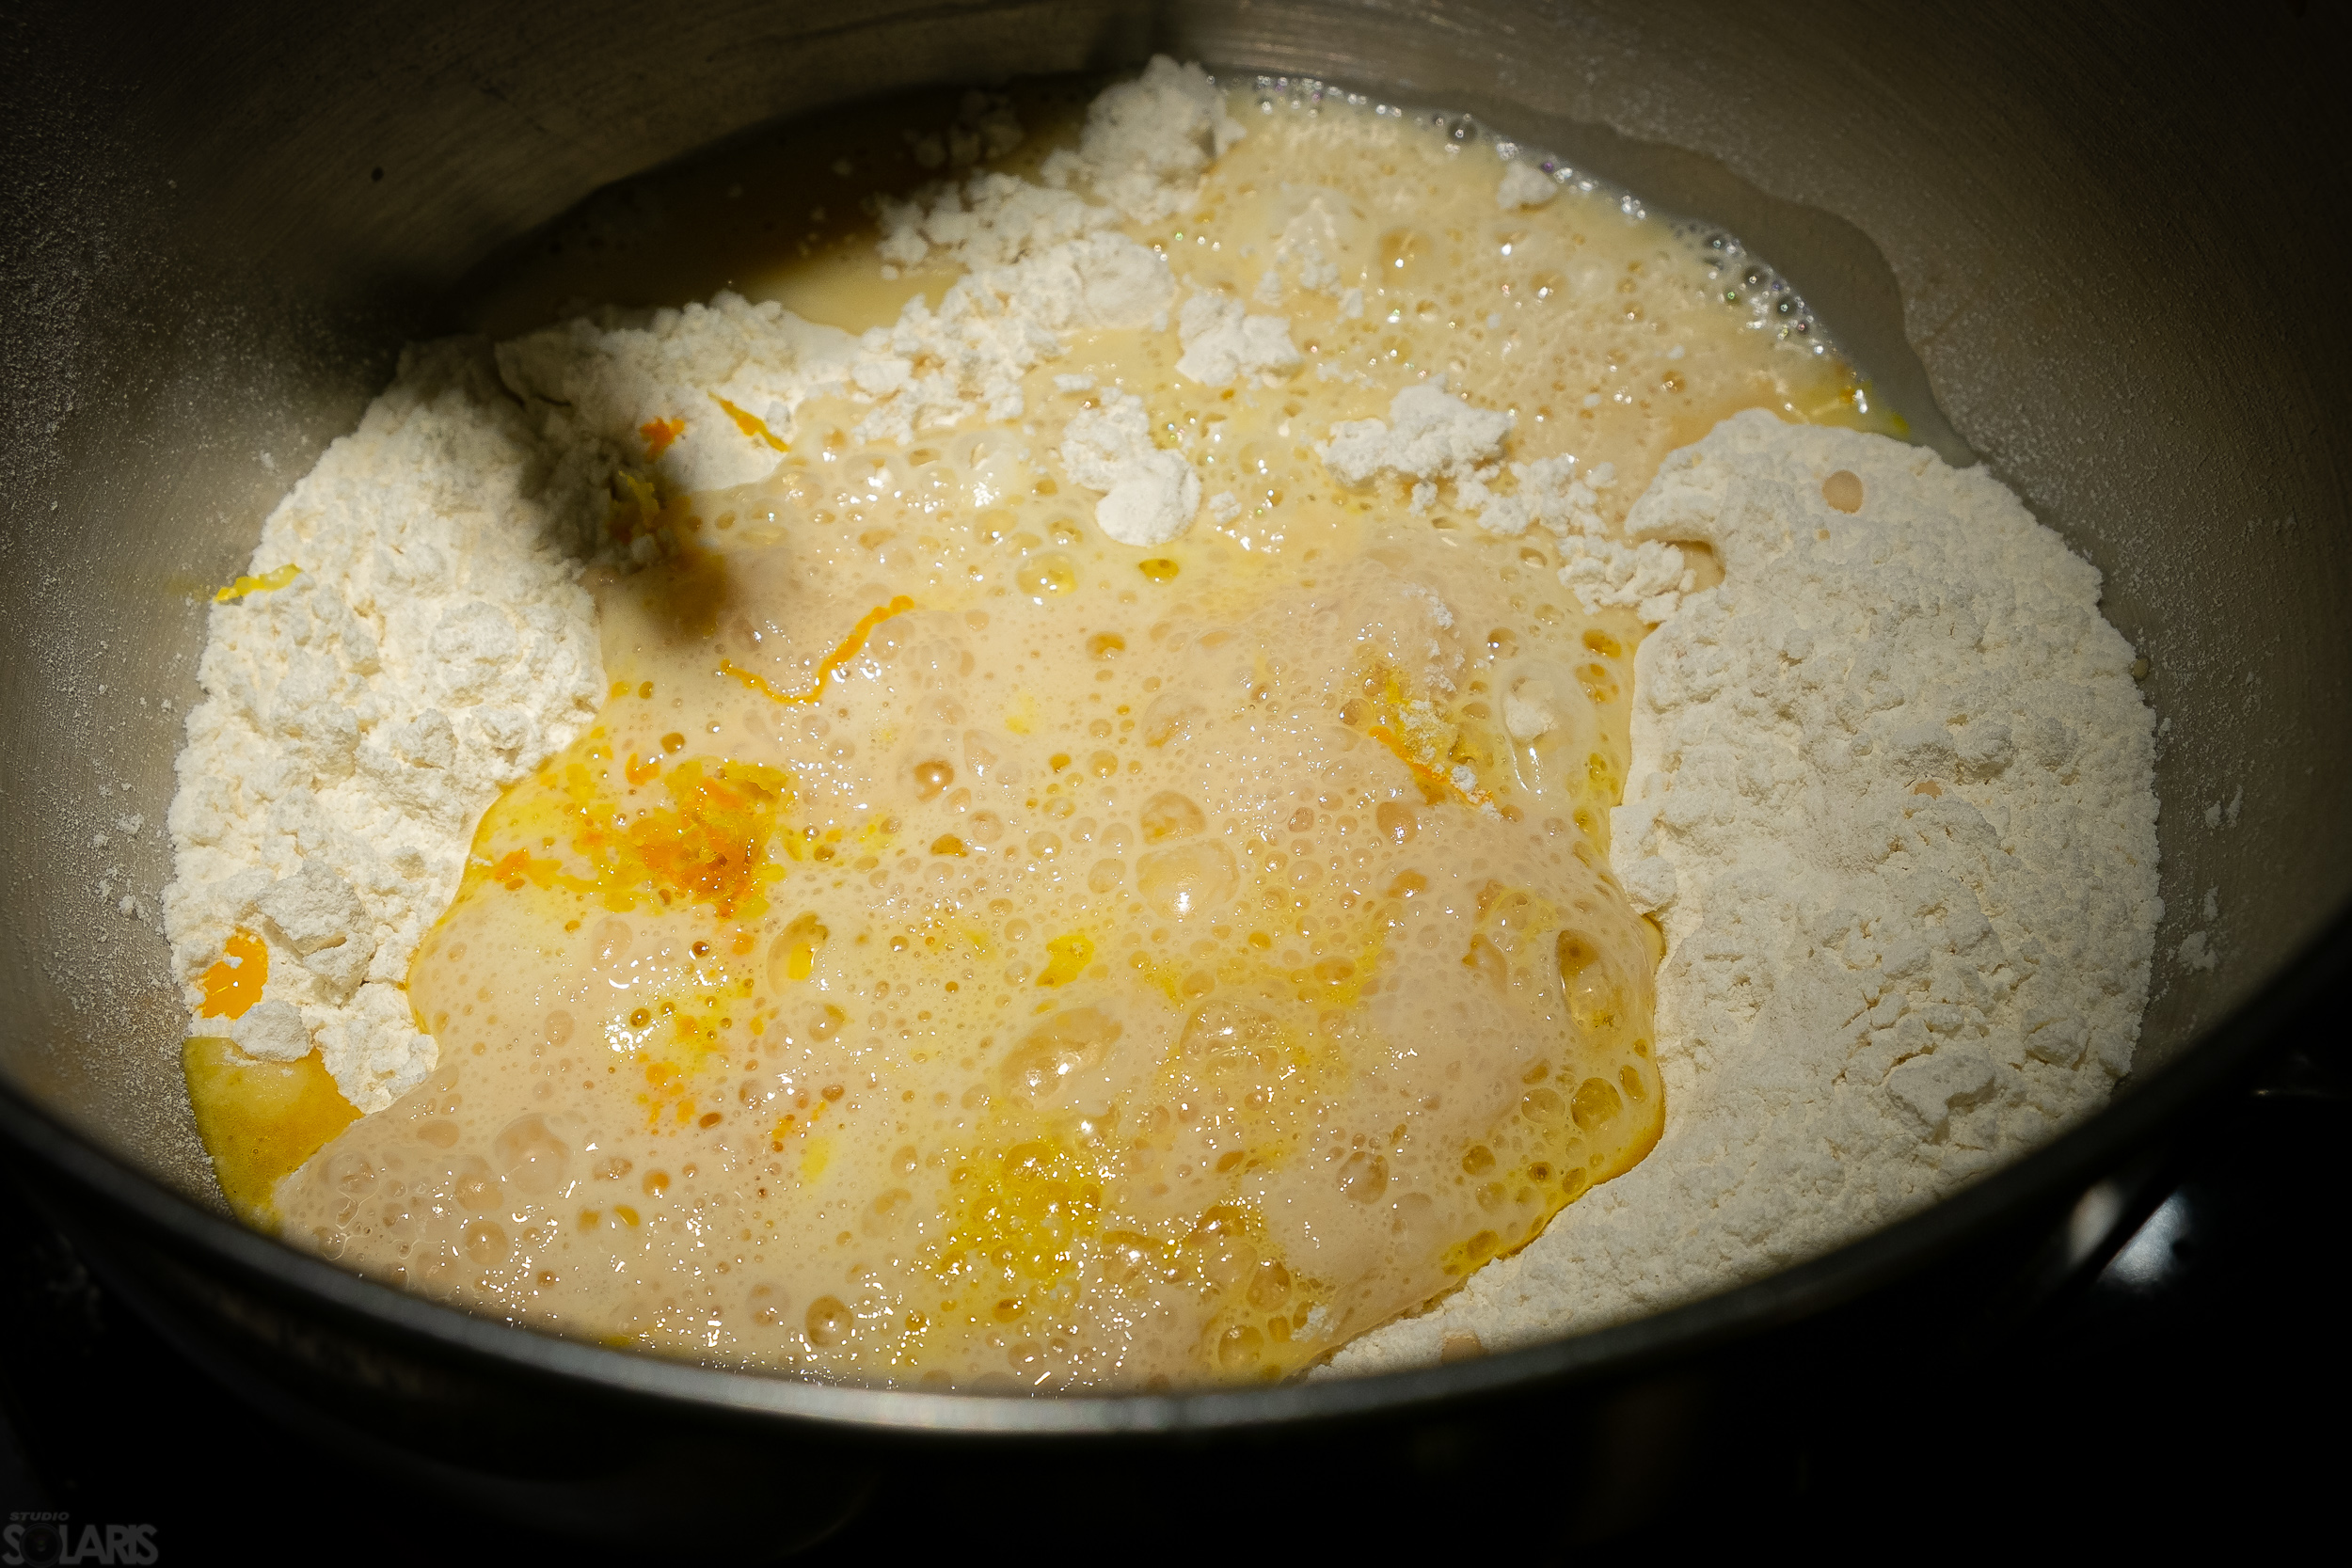
Also while the yeast was activating I’ve mixed the salt in the egg yolks. In a few minutes the salt will brighten the yolks colour nicely. It is also probably a good idea to dissolve the sugar in the slightly warmed milk before setting everything, along with the orange zest in the flour. The only dough ingredient left over is the butter, its turn will come very soon.
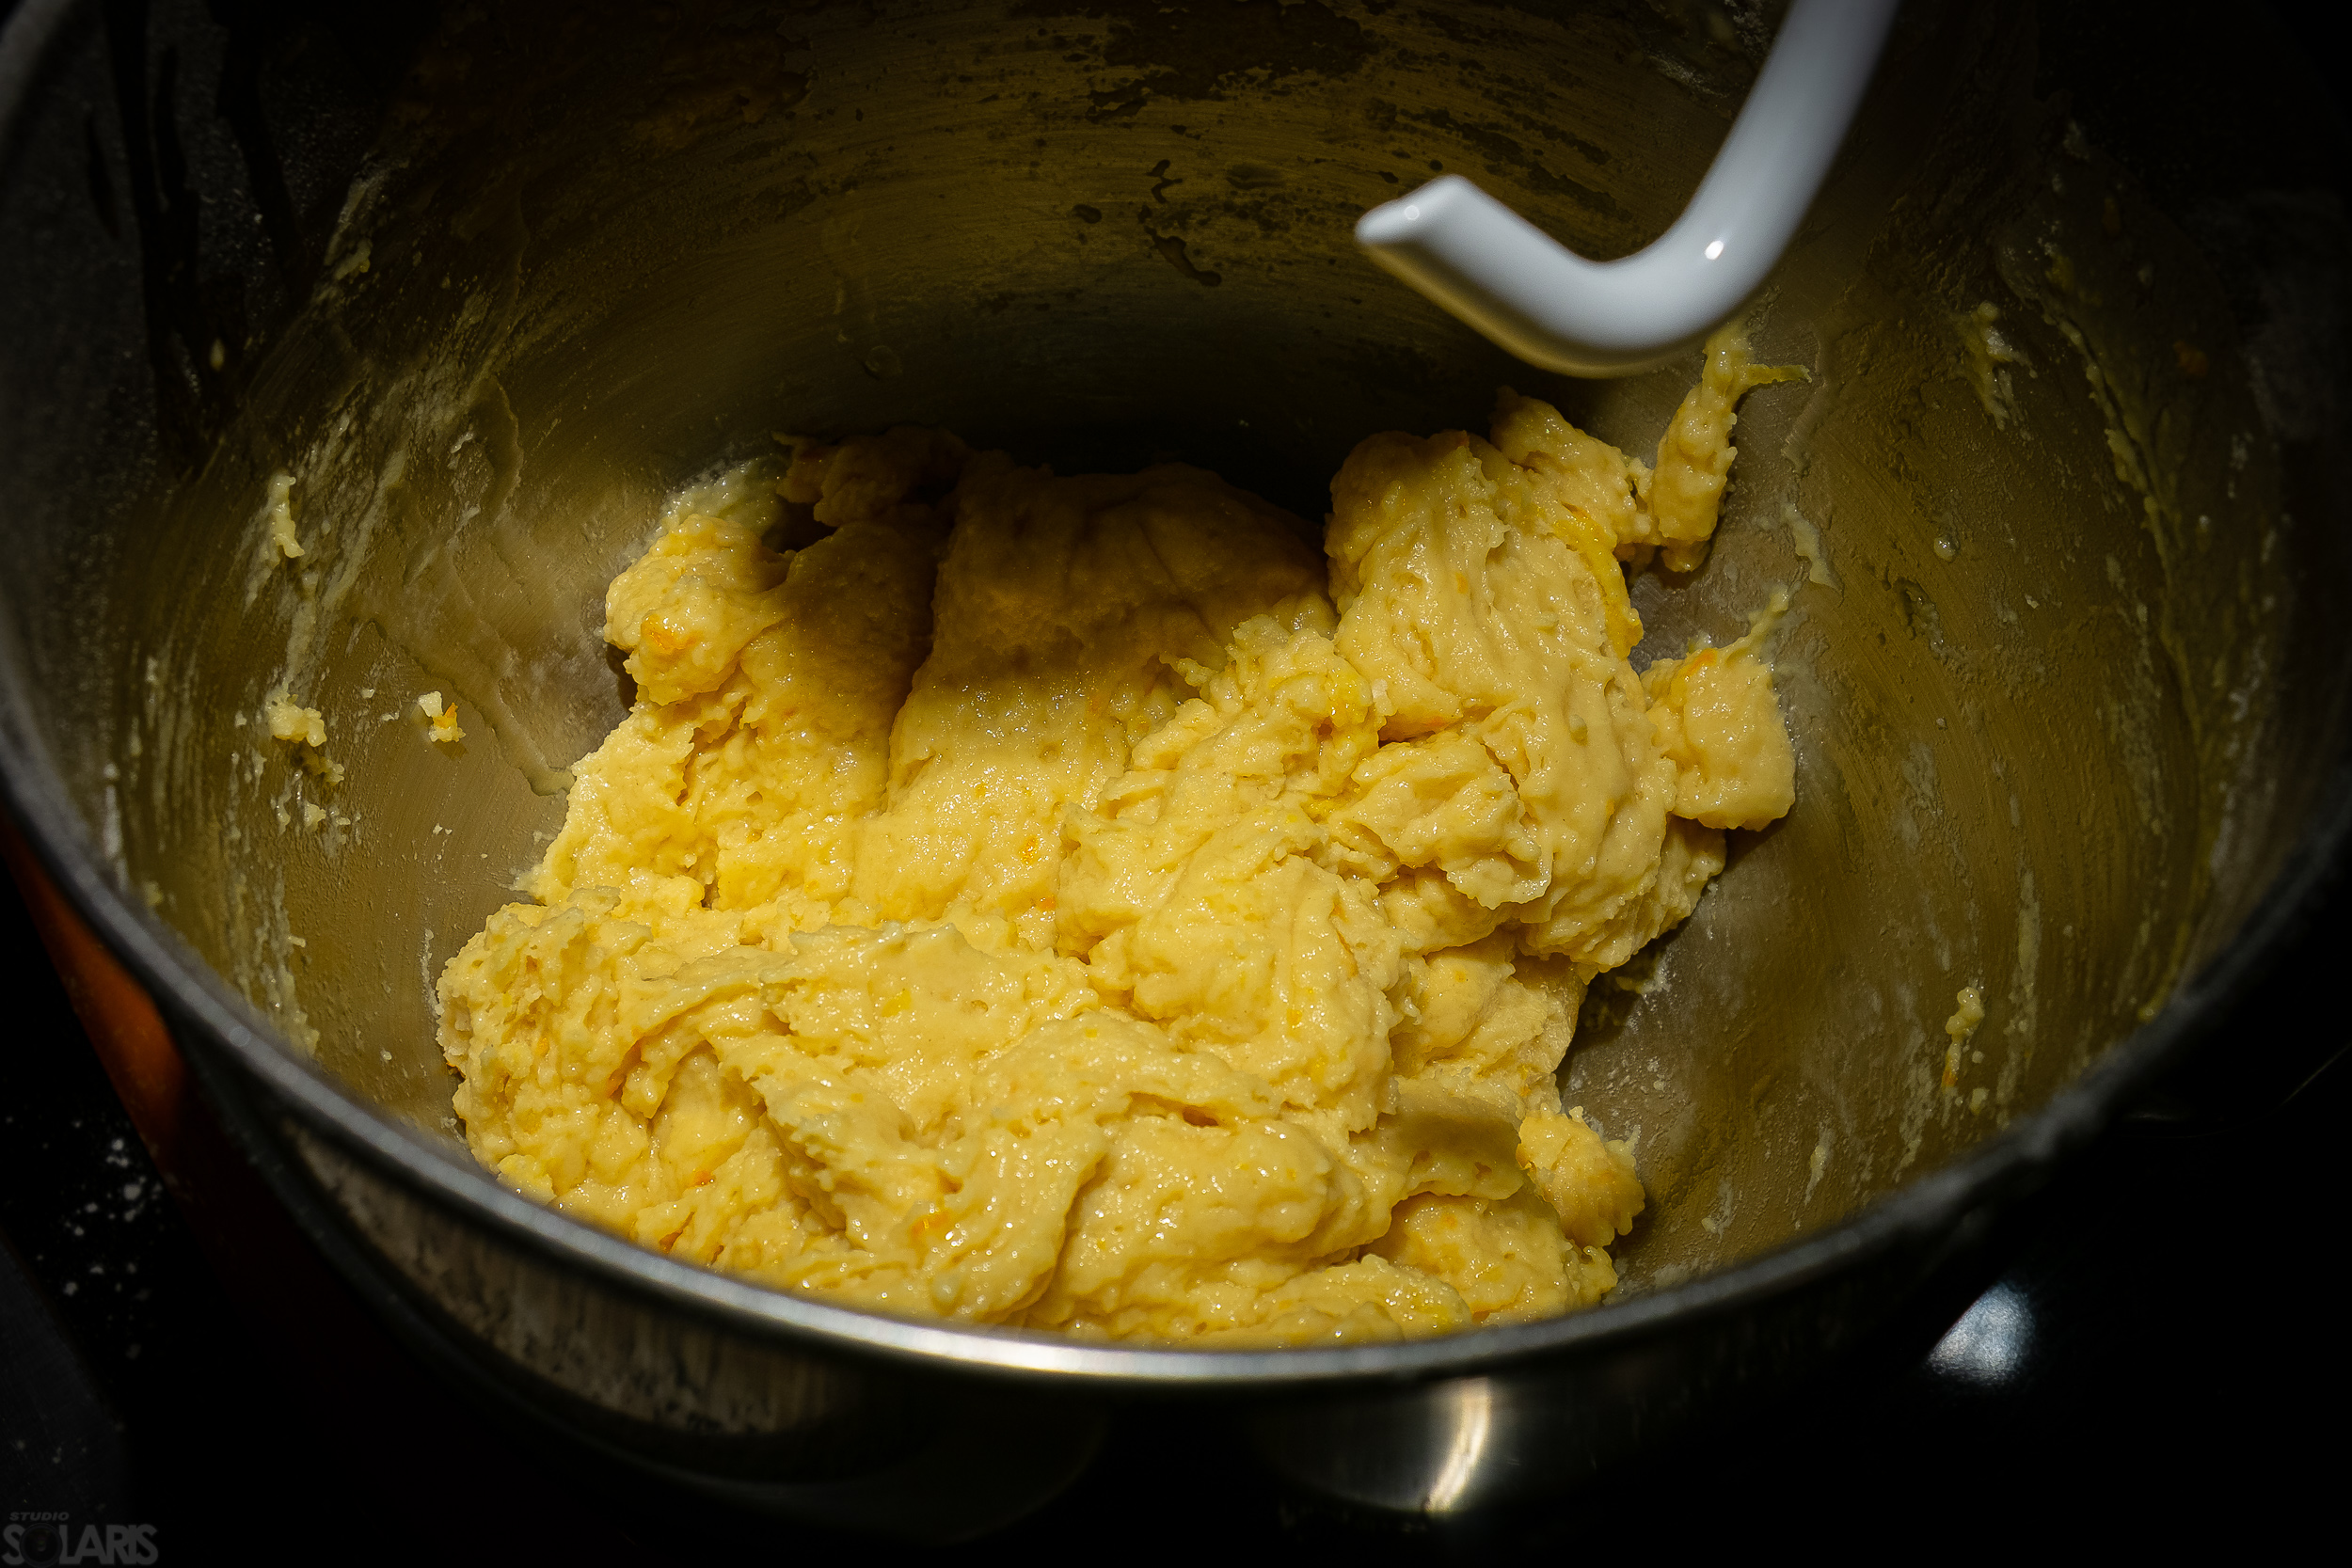
Got the dough together using the mixer’s paddle accessory using the stir speed (the very first one). The mixer is capable of some particularly vigorous mixing action, the dough came together in like 15 turns or so. I didn’t count, but it was surprisingly quick. On with the hook attachment.
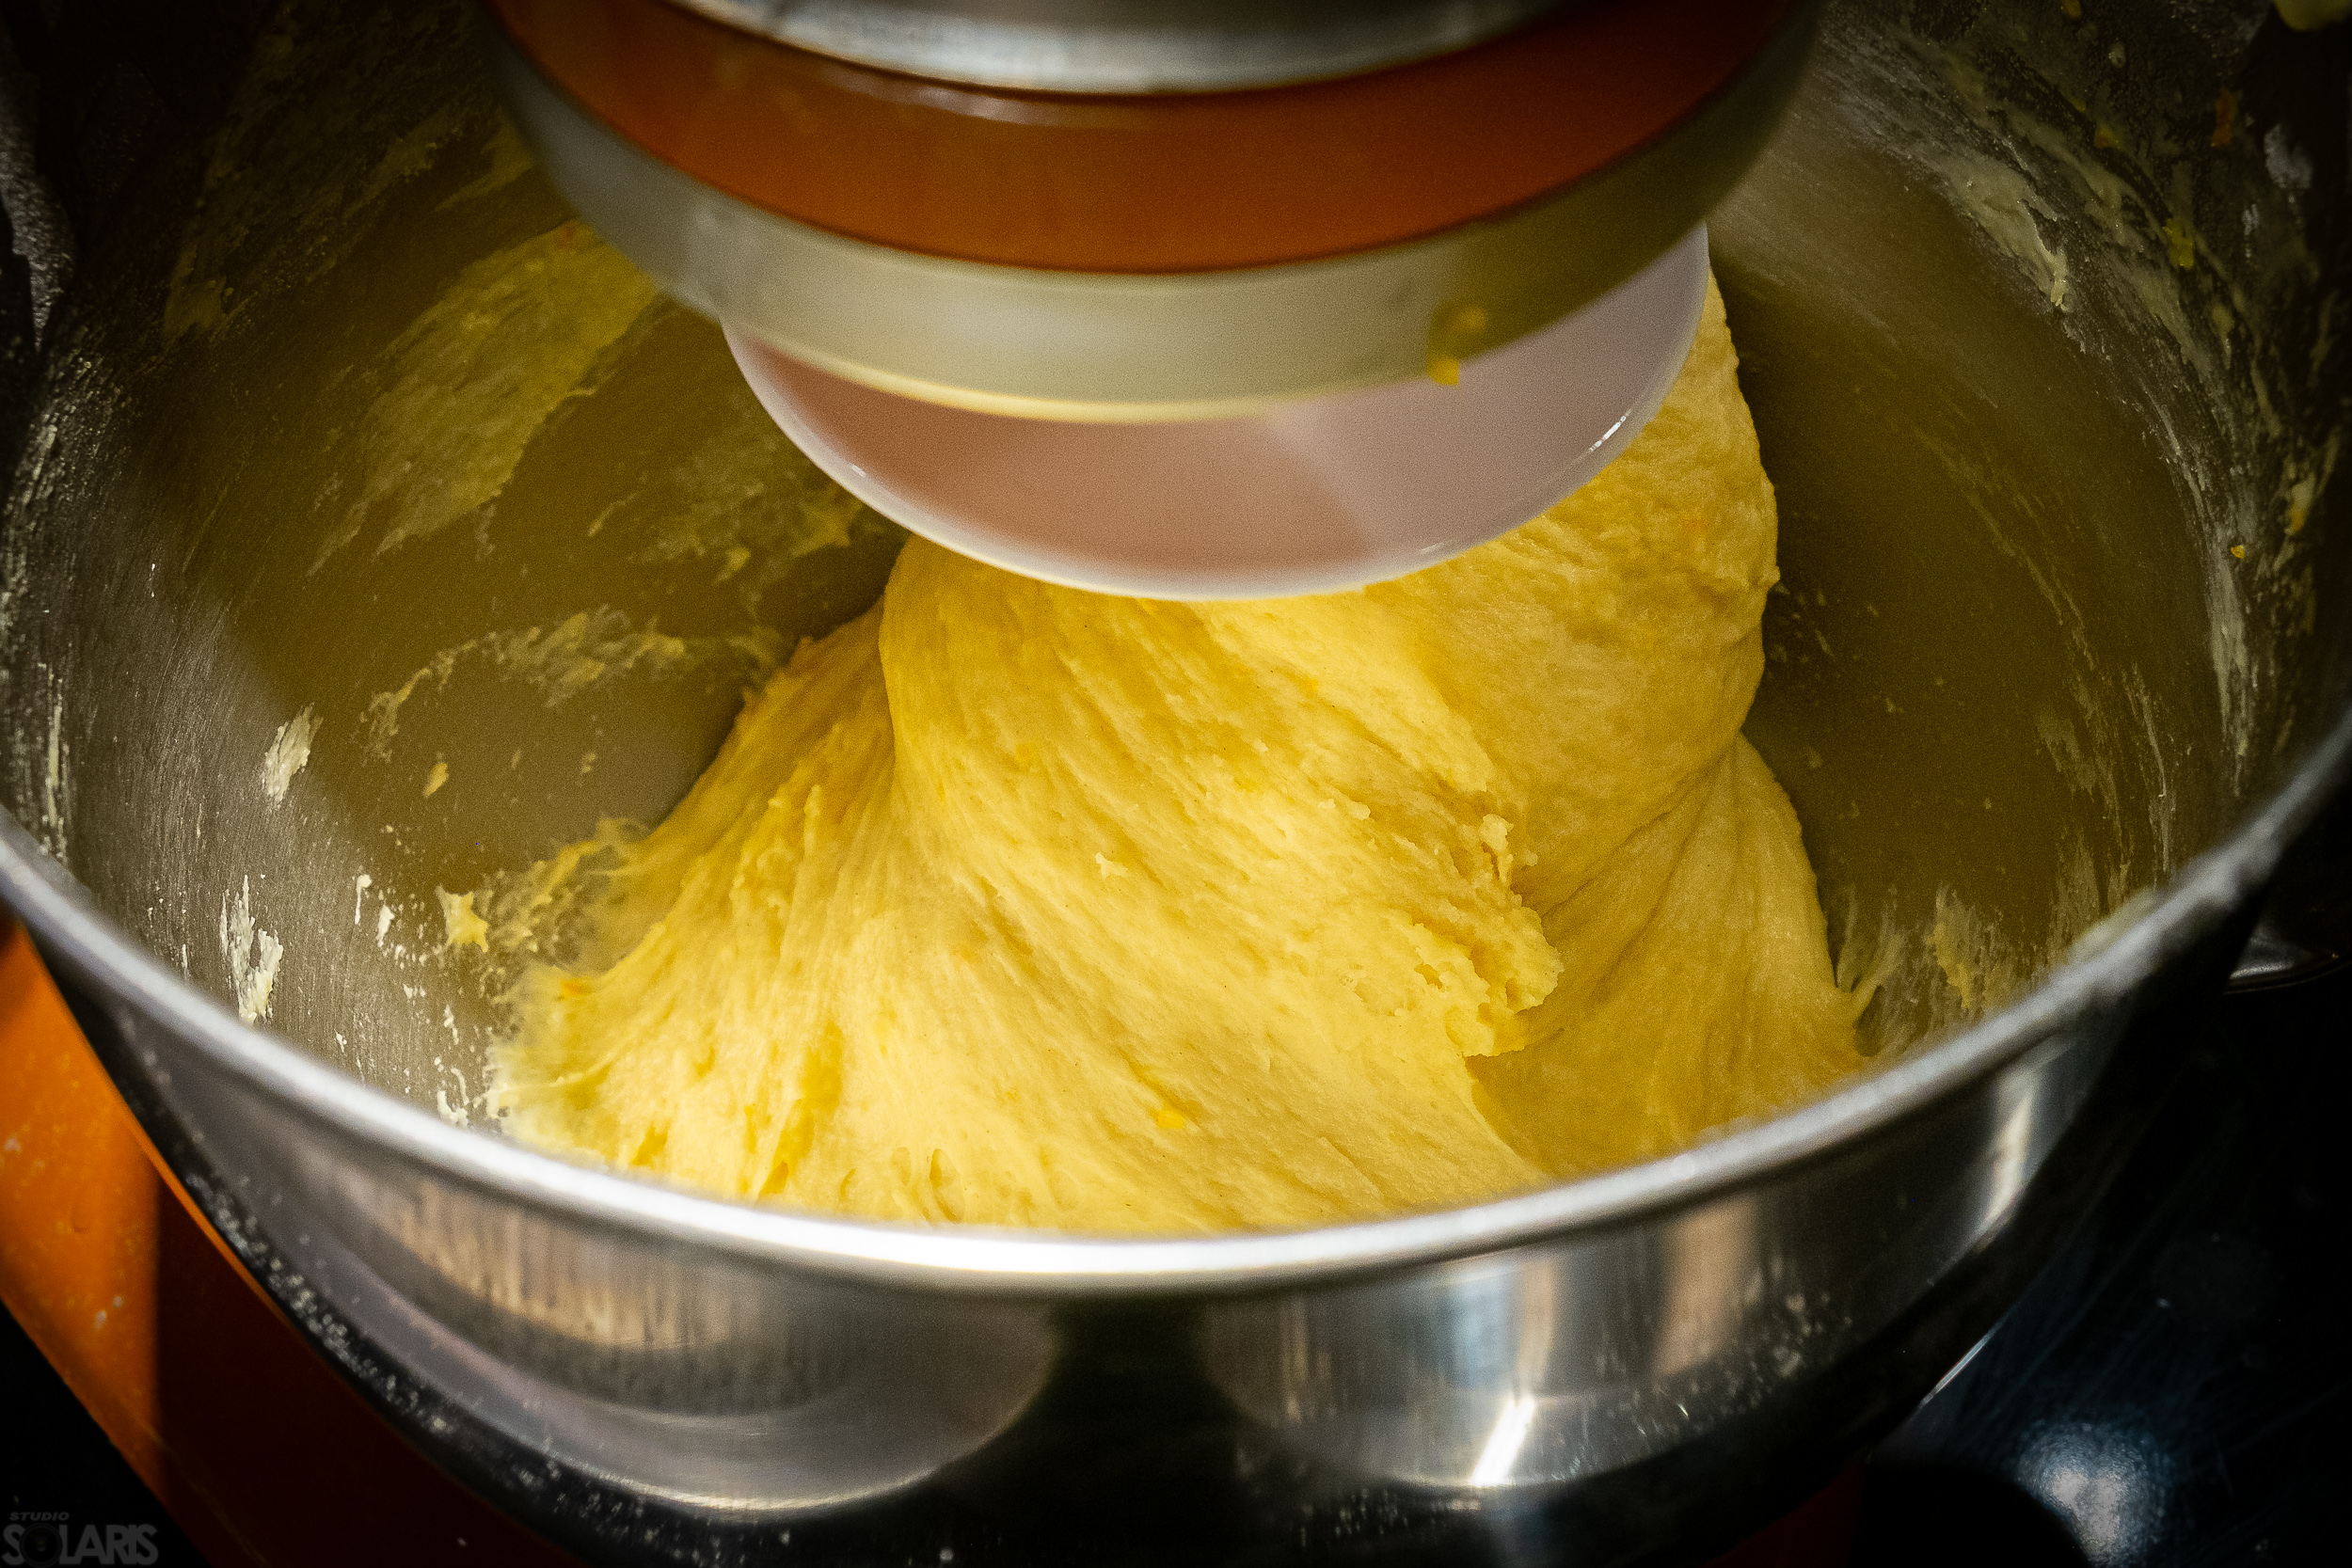
Here I followed Kitchen Aid’s advice to use the mixer’s second speed for kneading, while slowly adding the melted butter. Kitchen Aid boasts that 2 minutes of mechanical kneading equals 15 by hand. They also say the dough is supposed to come off the sides of the bowl, form a ball and climb the hook when it is ready. That may be true for a harder dough which this isn’t.
Moreover, because the gluten is not developed yet, a small portion the dough might stick at the bottom and separate from the rest. Fortunately God has invented silicon spatulas so we can easily scrape the non-cooperating dough from the bottom and add it back to the rest.
Perhaps the biggest danger here is over kneading the dough, which is simple enough to do while using this beast of a stand mixer, resulting in a hard dough which won’t develop well while resting. The best thing to do is to check for the desired dough’s consistence/ elasticity every half a minute of kneading or so. The total kneading time here was around 5 minutes, pauses for checking included.
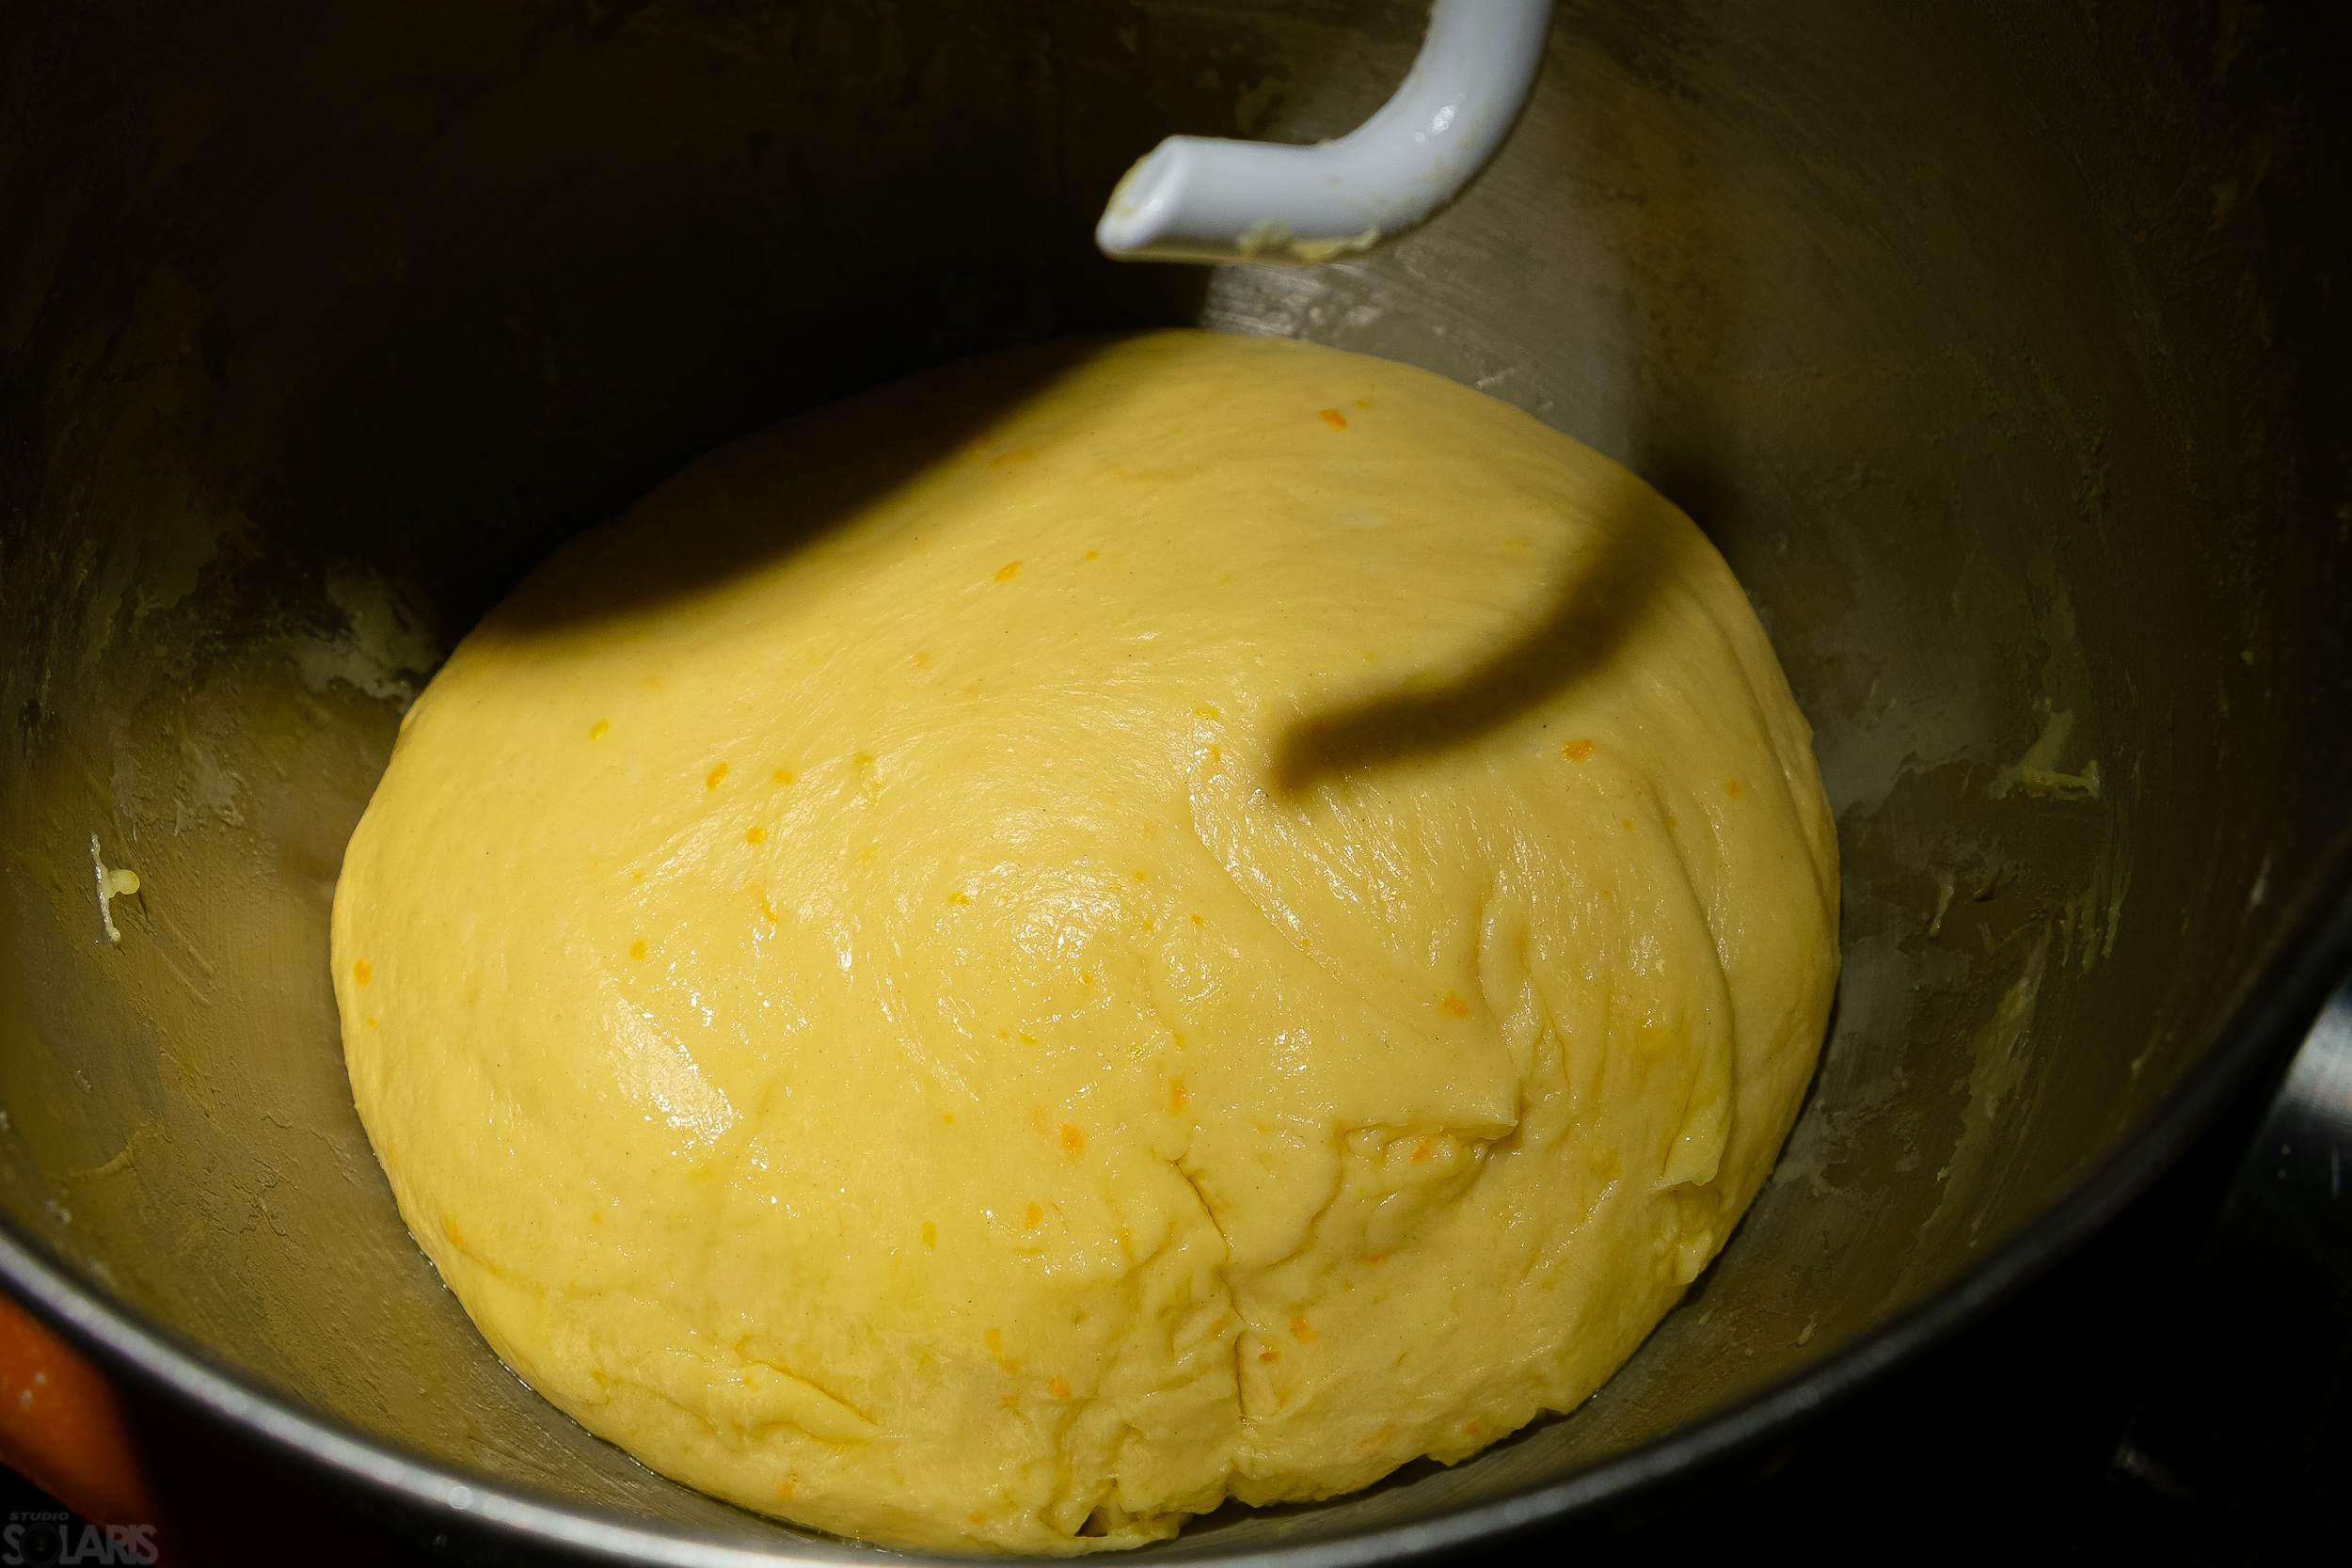
Remember I was talking about oil above somewhere? It is good to note that substituting a little bit of soft butter at the end of kneading resulted in the dough you see in the image. It is nice, elastic and comes off the hook and the ball with ease. We’ll leave it to rest and develop in a bowl set in a warm kitchen spot, covered. It needs to at least double in size.
Another observation here is the need for patience. Most places say it takes 30 minutes to an hour of resting to get this rise but that’s pretty far from being written in stone and reality may prove significantly more fluid. They are way too many variables in consideration here to be able to predict how long the resting process will take. Better adopt a Zen like attitude of “It is ready when it is ready”. It is more important what kind of structure develops so I find how it rises to be more relevant here than the time it takes to get there. All in all, it took around an hour and 15 minutes. Not that you have nothing to do while the dough rises…
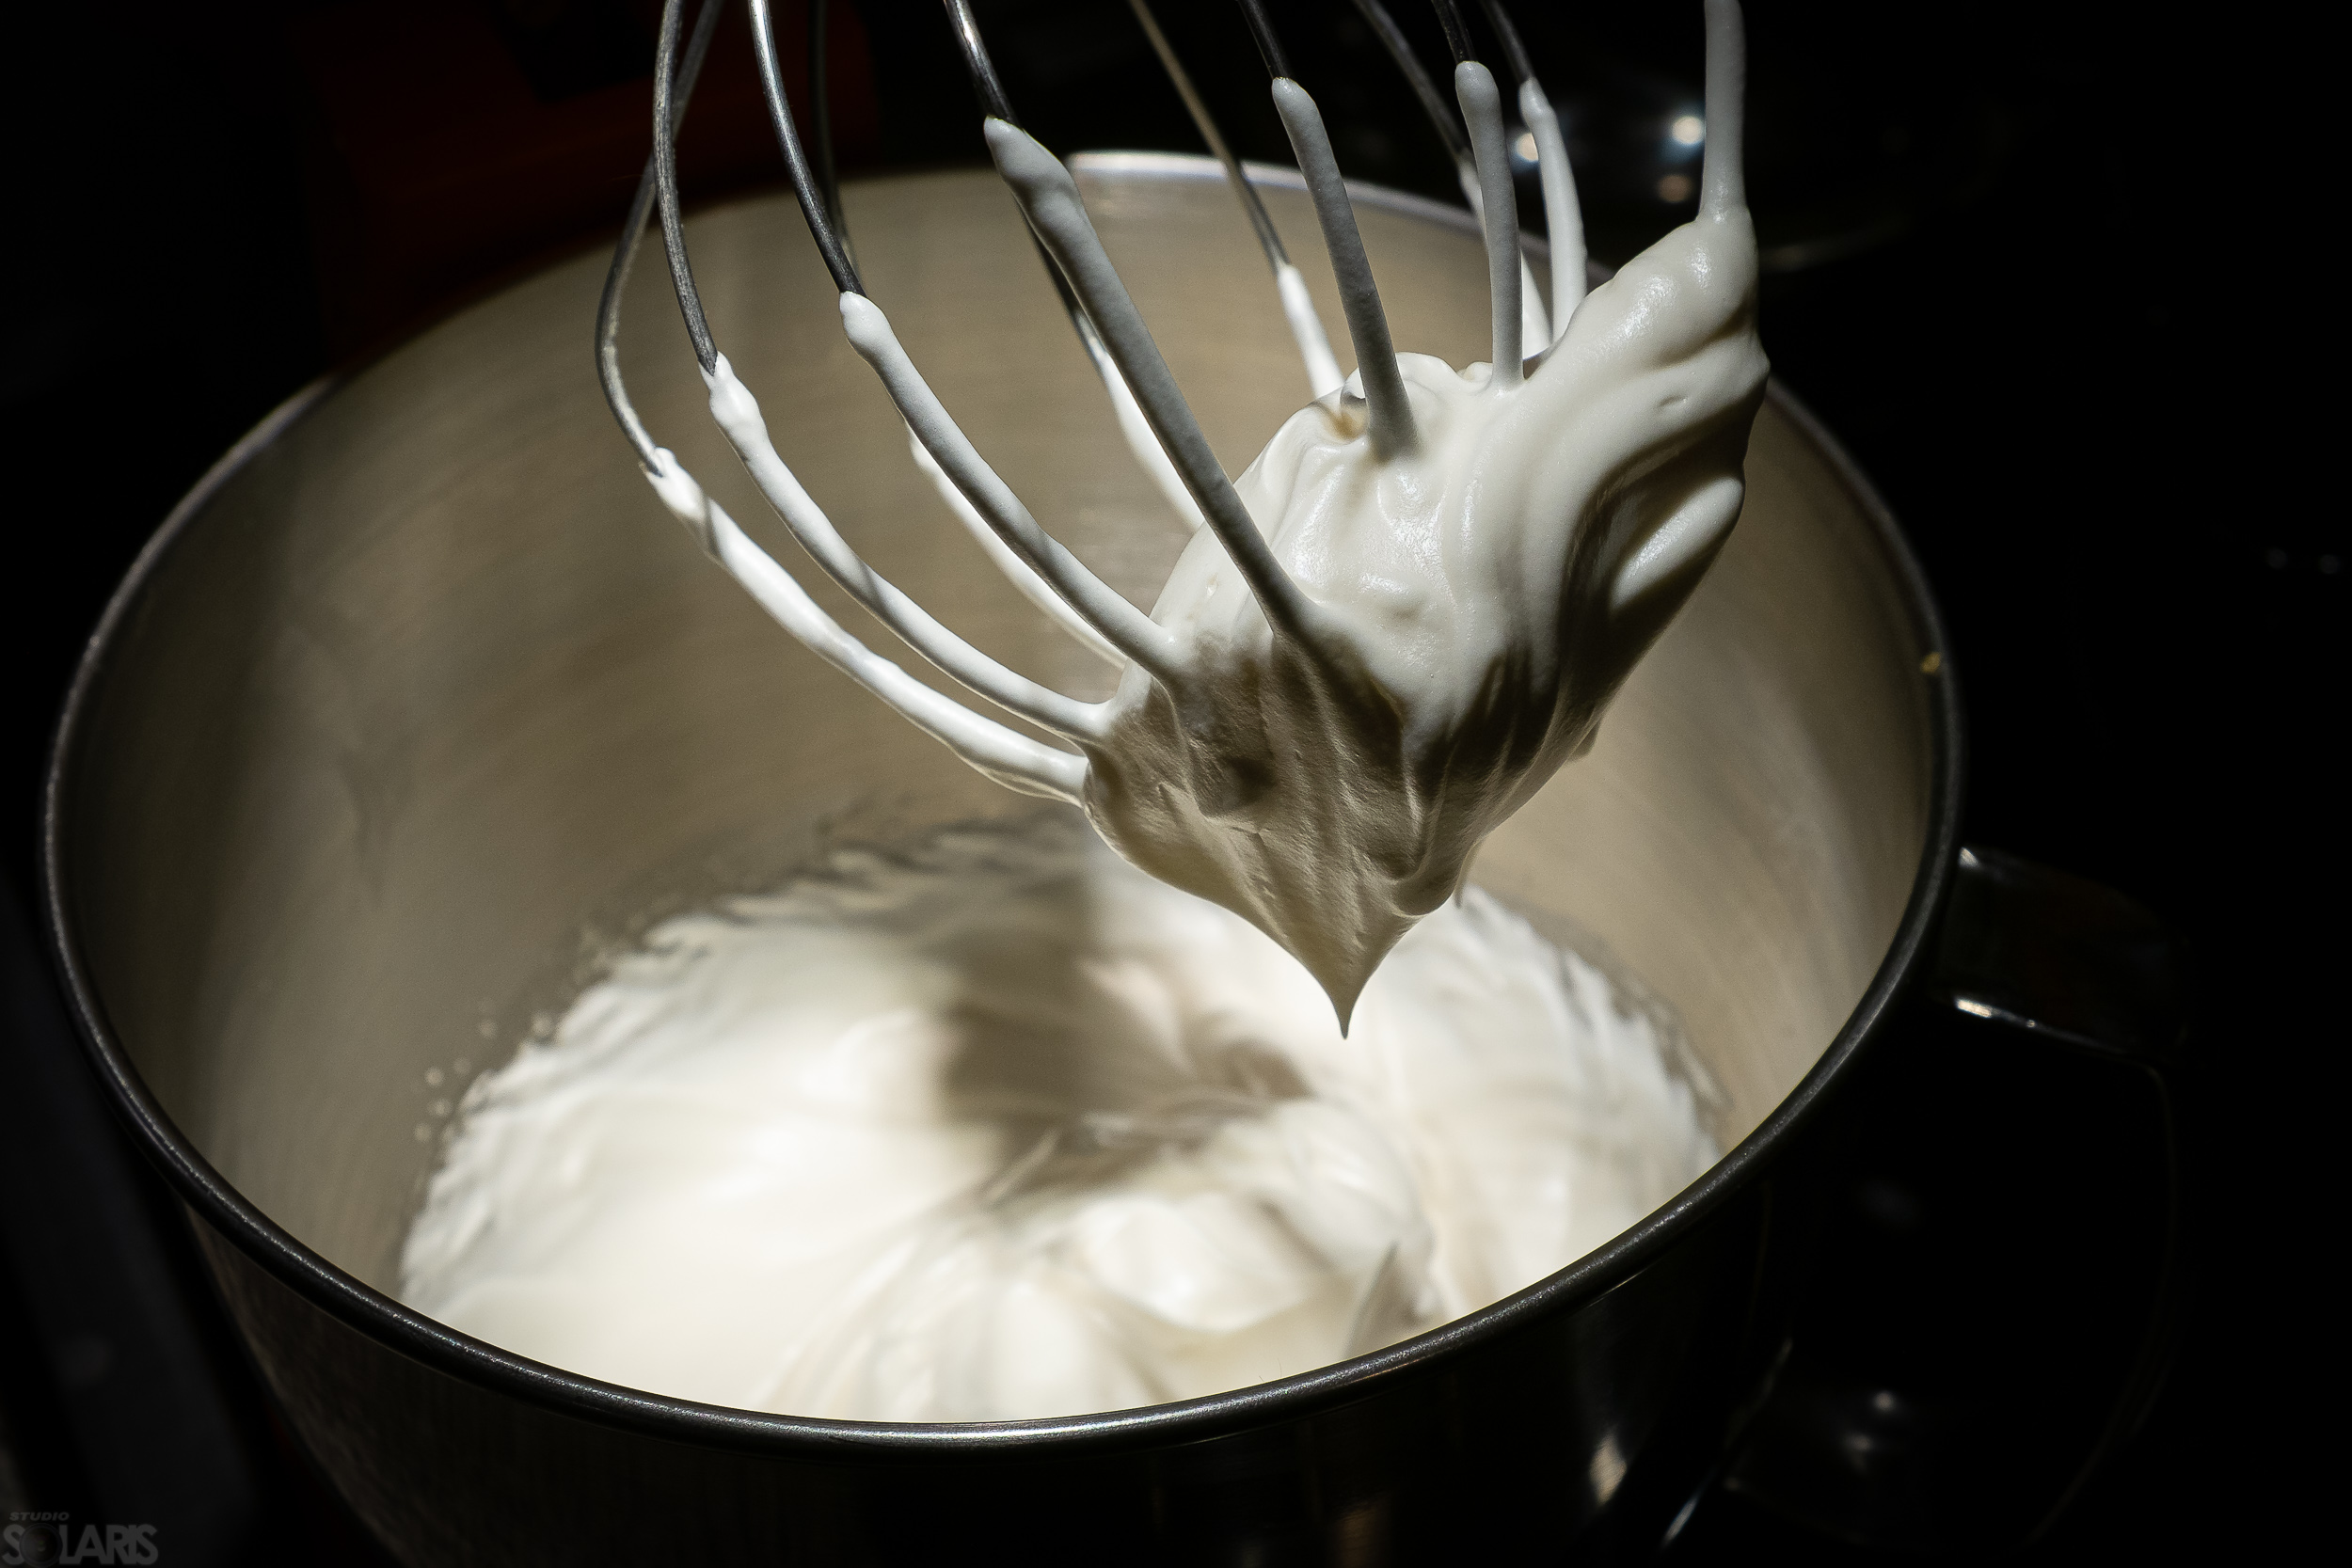
On to the filling, starting with beating the egg whites to semi-hard peaks which the mixer did completely effortlessly. This is one of the things I love about this monster: it has an air of assured, confident inevitability about anything you set on processing its bowl. It breezes thru everything without breaking the slightest of sweats.
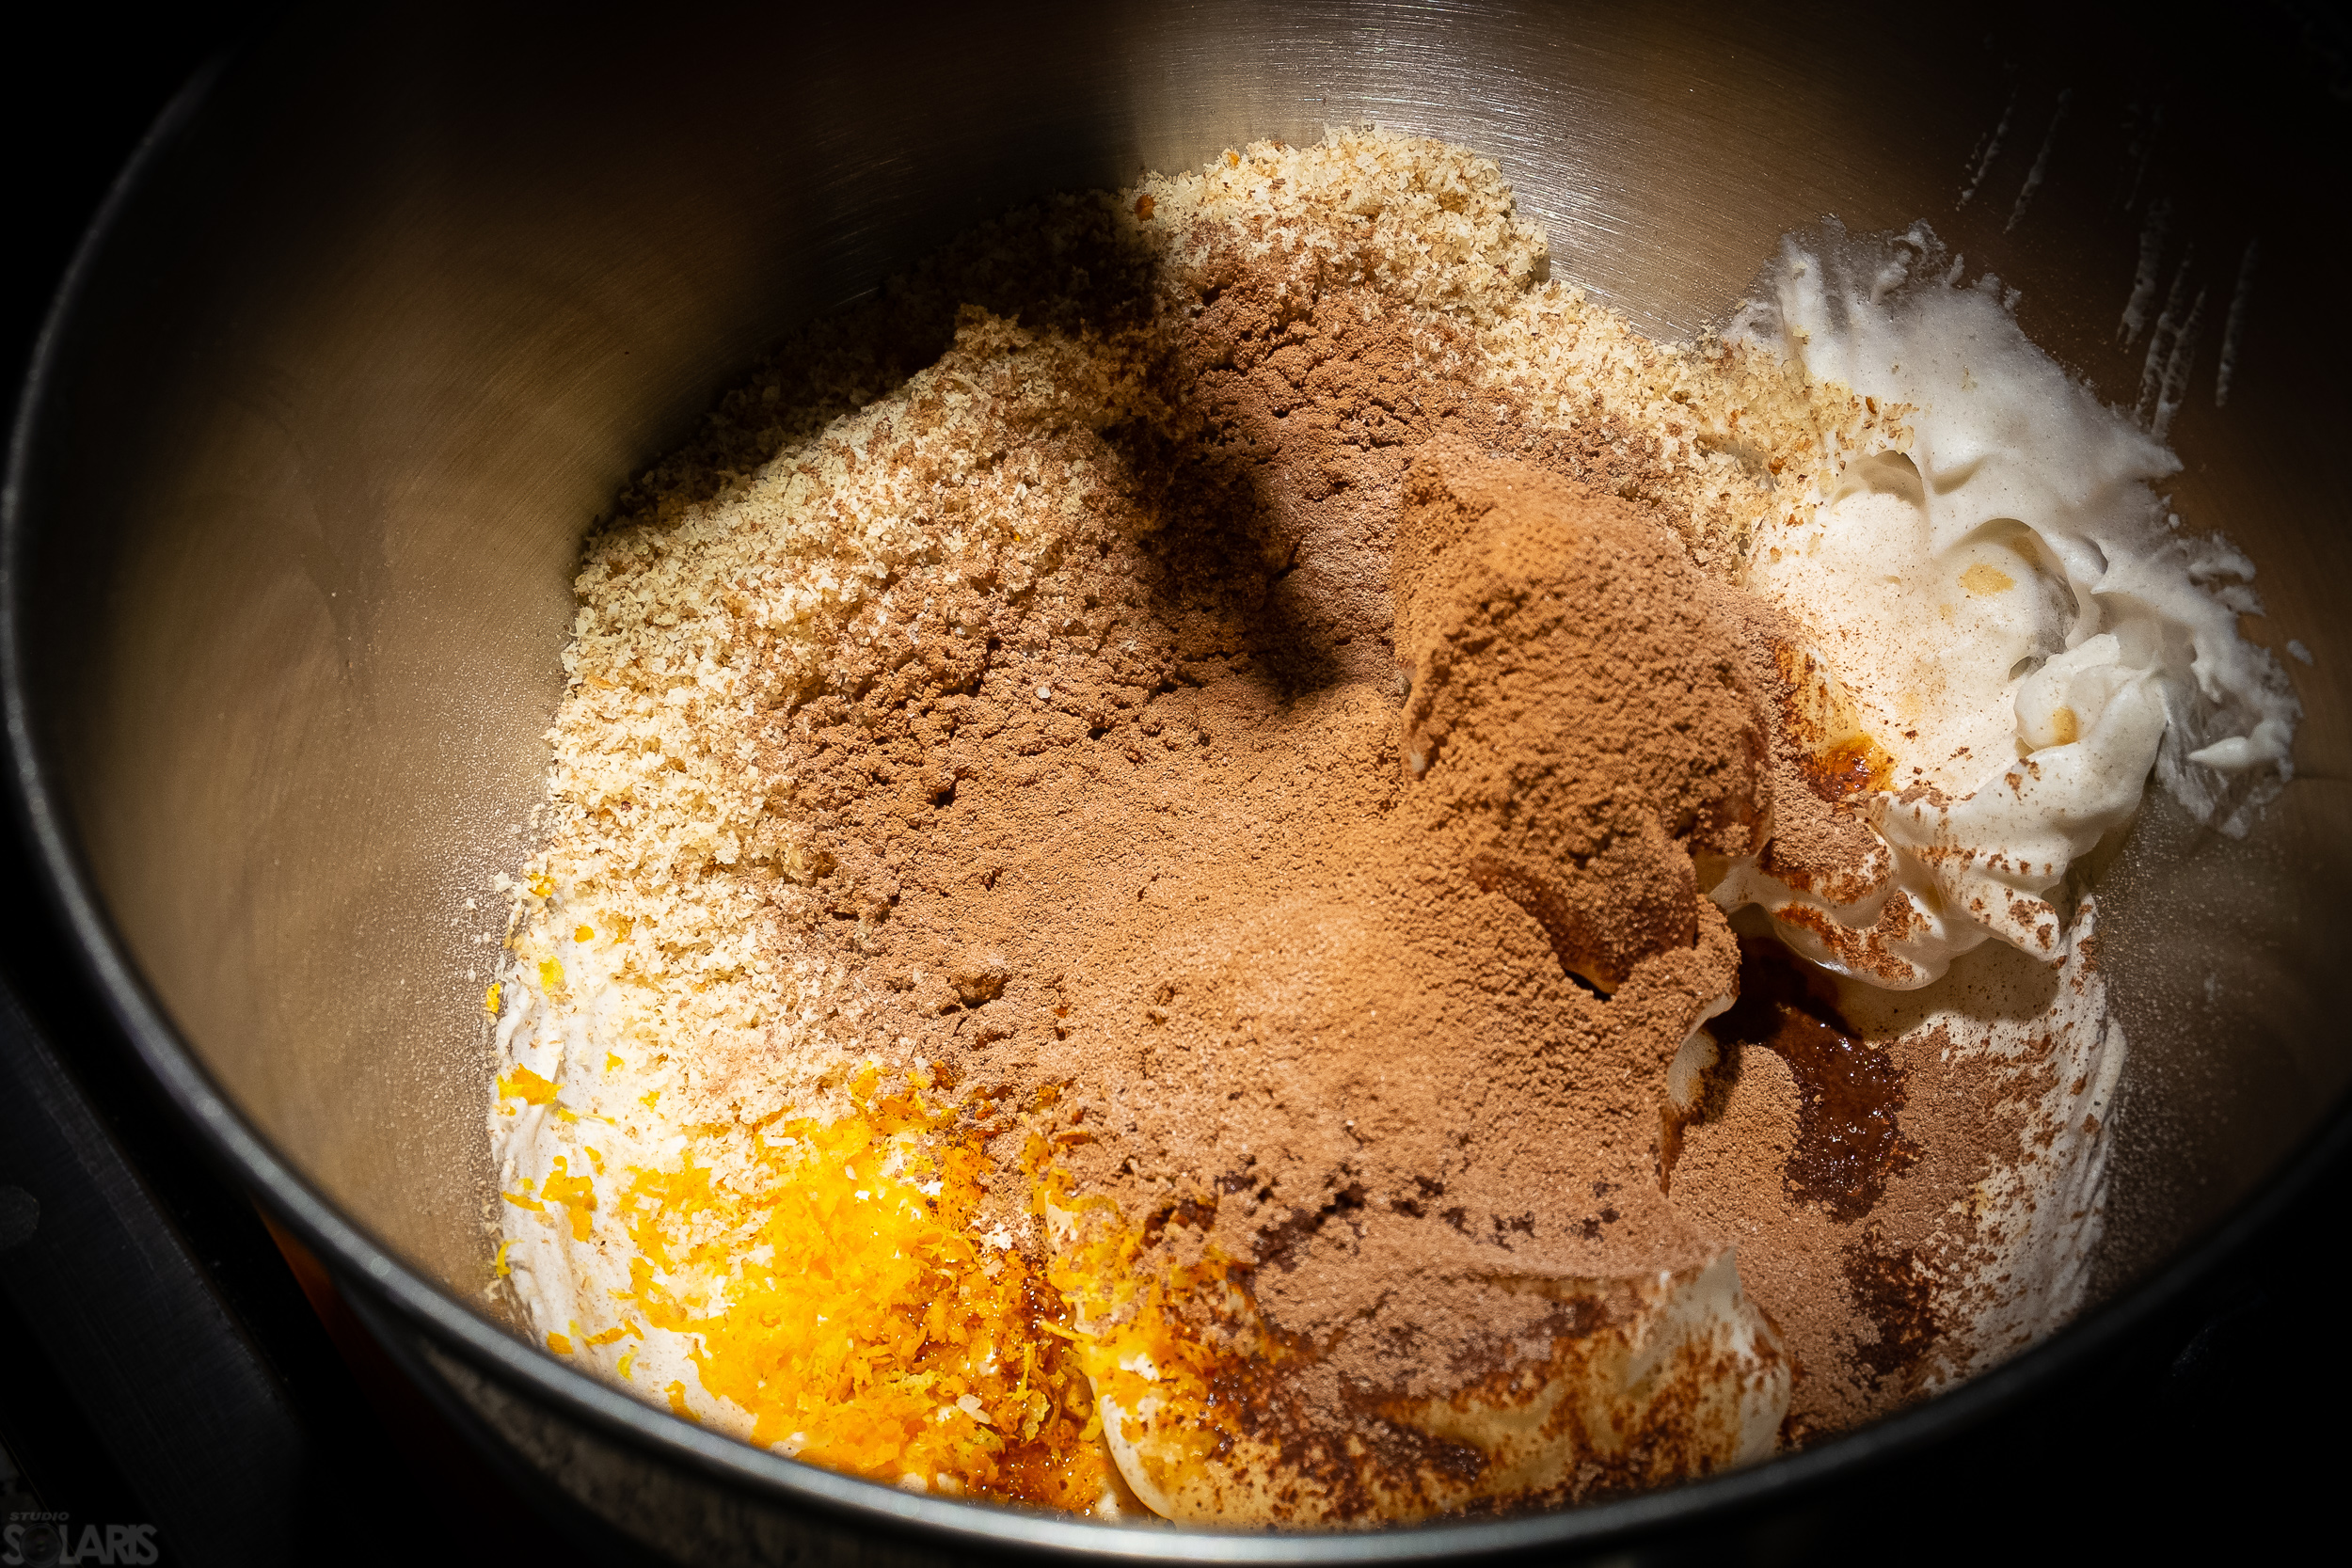
We can now add the rest of the filling ingredients and carefully incorporate them. The sultanas were supposed to be re-hidrated in warm water but I decided to use Irish whiskey instead. Because why not?
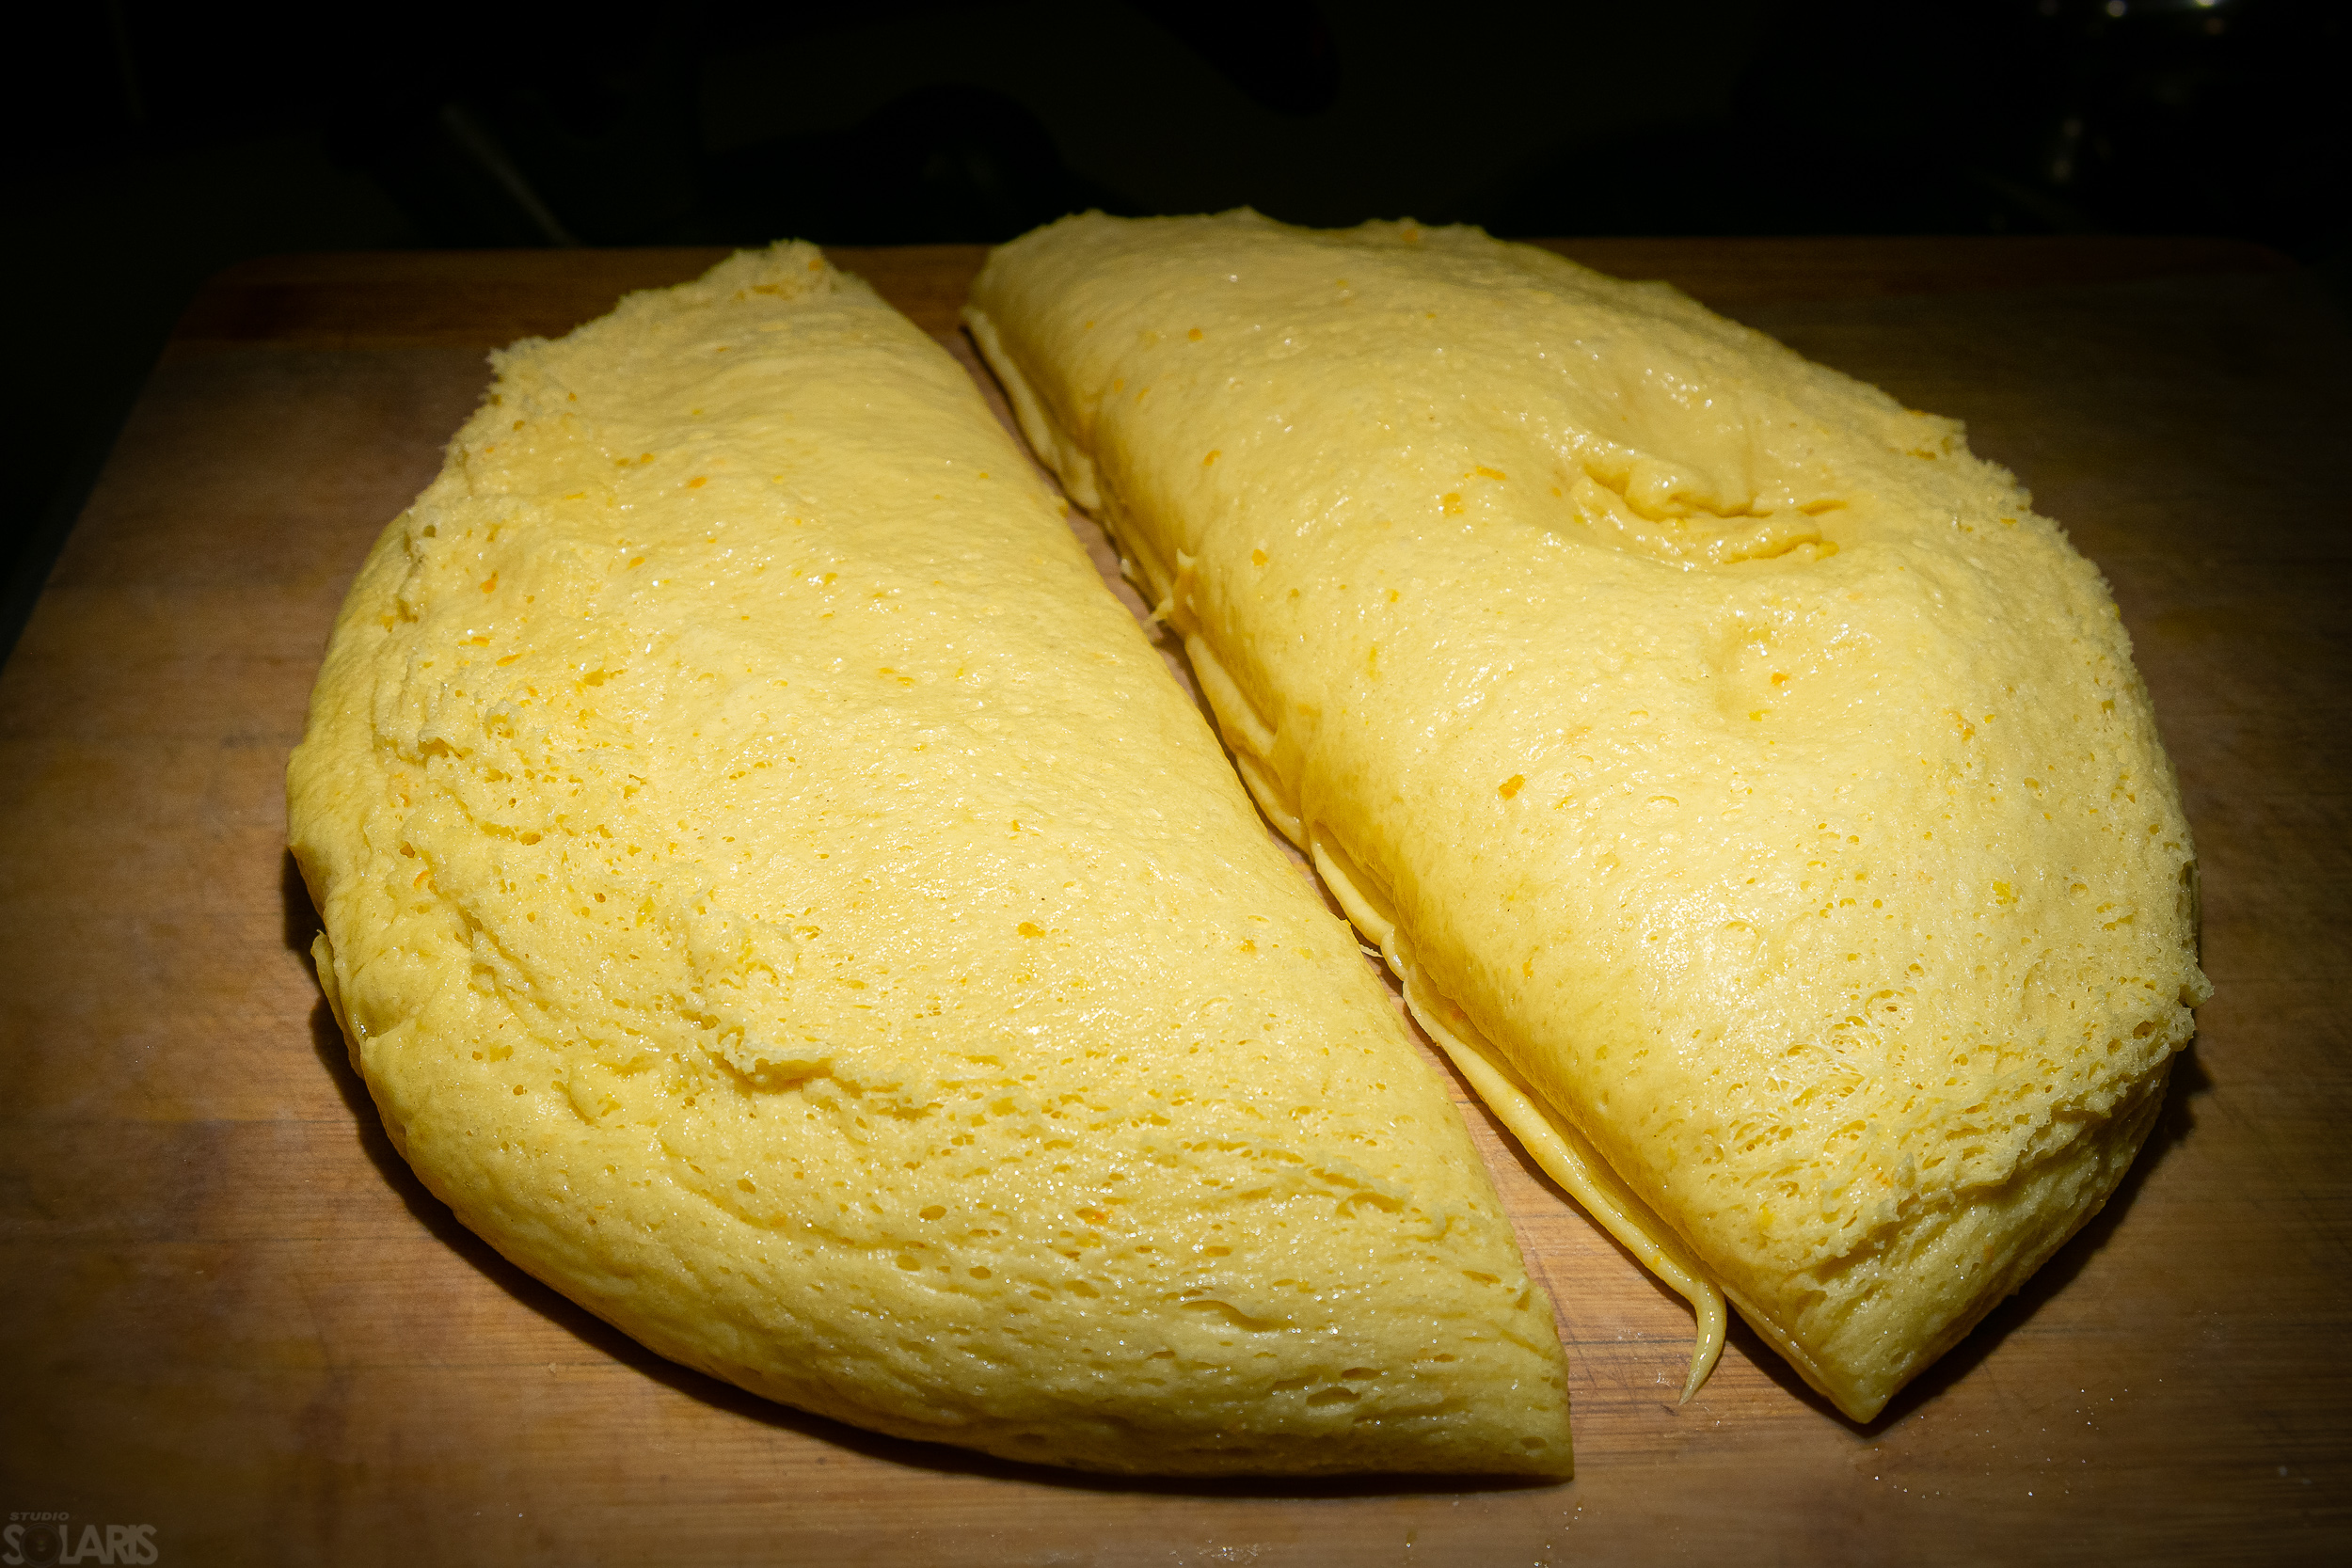
I’ve split the dough roughly in two parts. As I was mentioning before, looking at the structure developing in there I’m quite happy. It is soft, fluffy, a bit elastic and moist without being sticky.
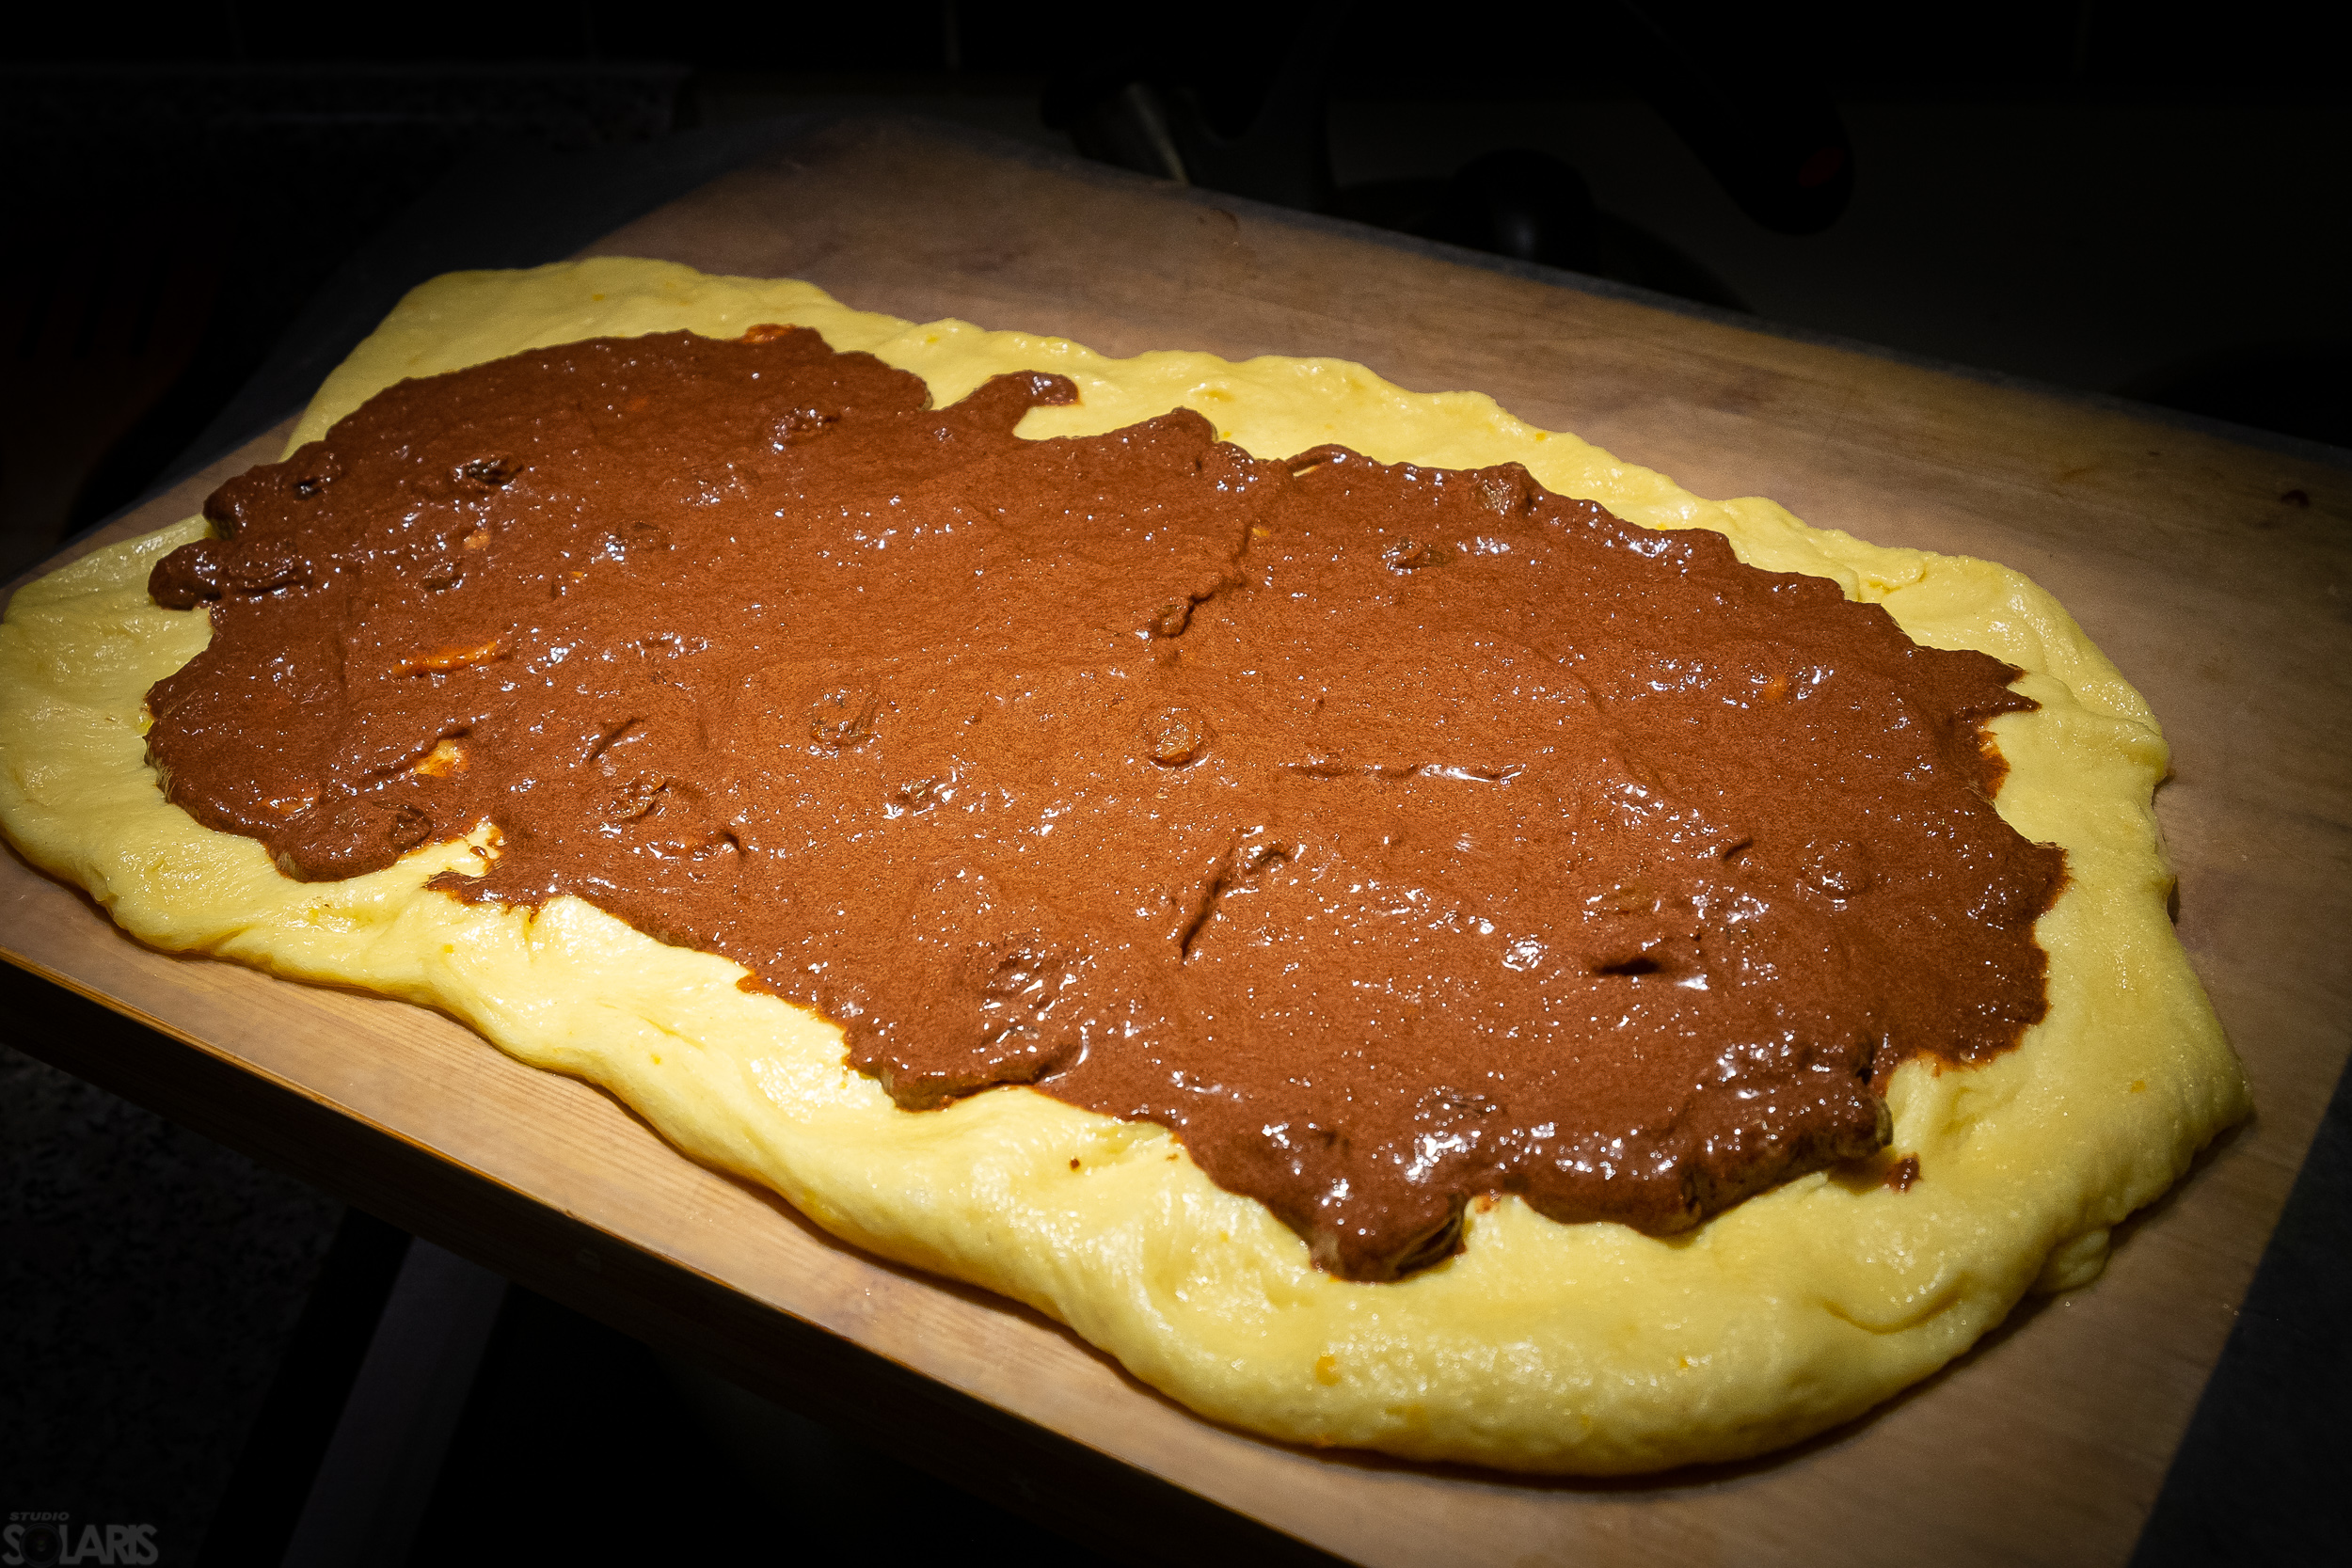
My Mom-in-Law uses a rolling pin to flatten these halves to about 1/2” thin. I know no one is asking, but I found using such a pin a bit counterproductive, in the end we’re looking for structure and air in the dough, by rolling it we’re destroying some of it. I gently used my fingers instead to spread it, then I laid on top half of the filling and rolled the result into a sort of sausage. I did the same on the second half but I’m afraid I got quite excited by the apparent good progress thus far, so I made a bit of a mess. Next time this step needs a bit more precision.
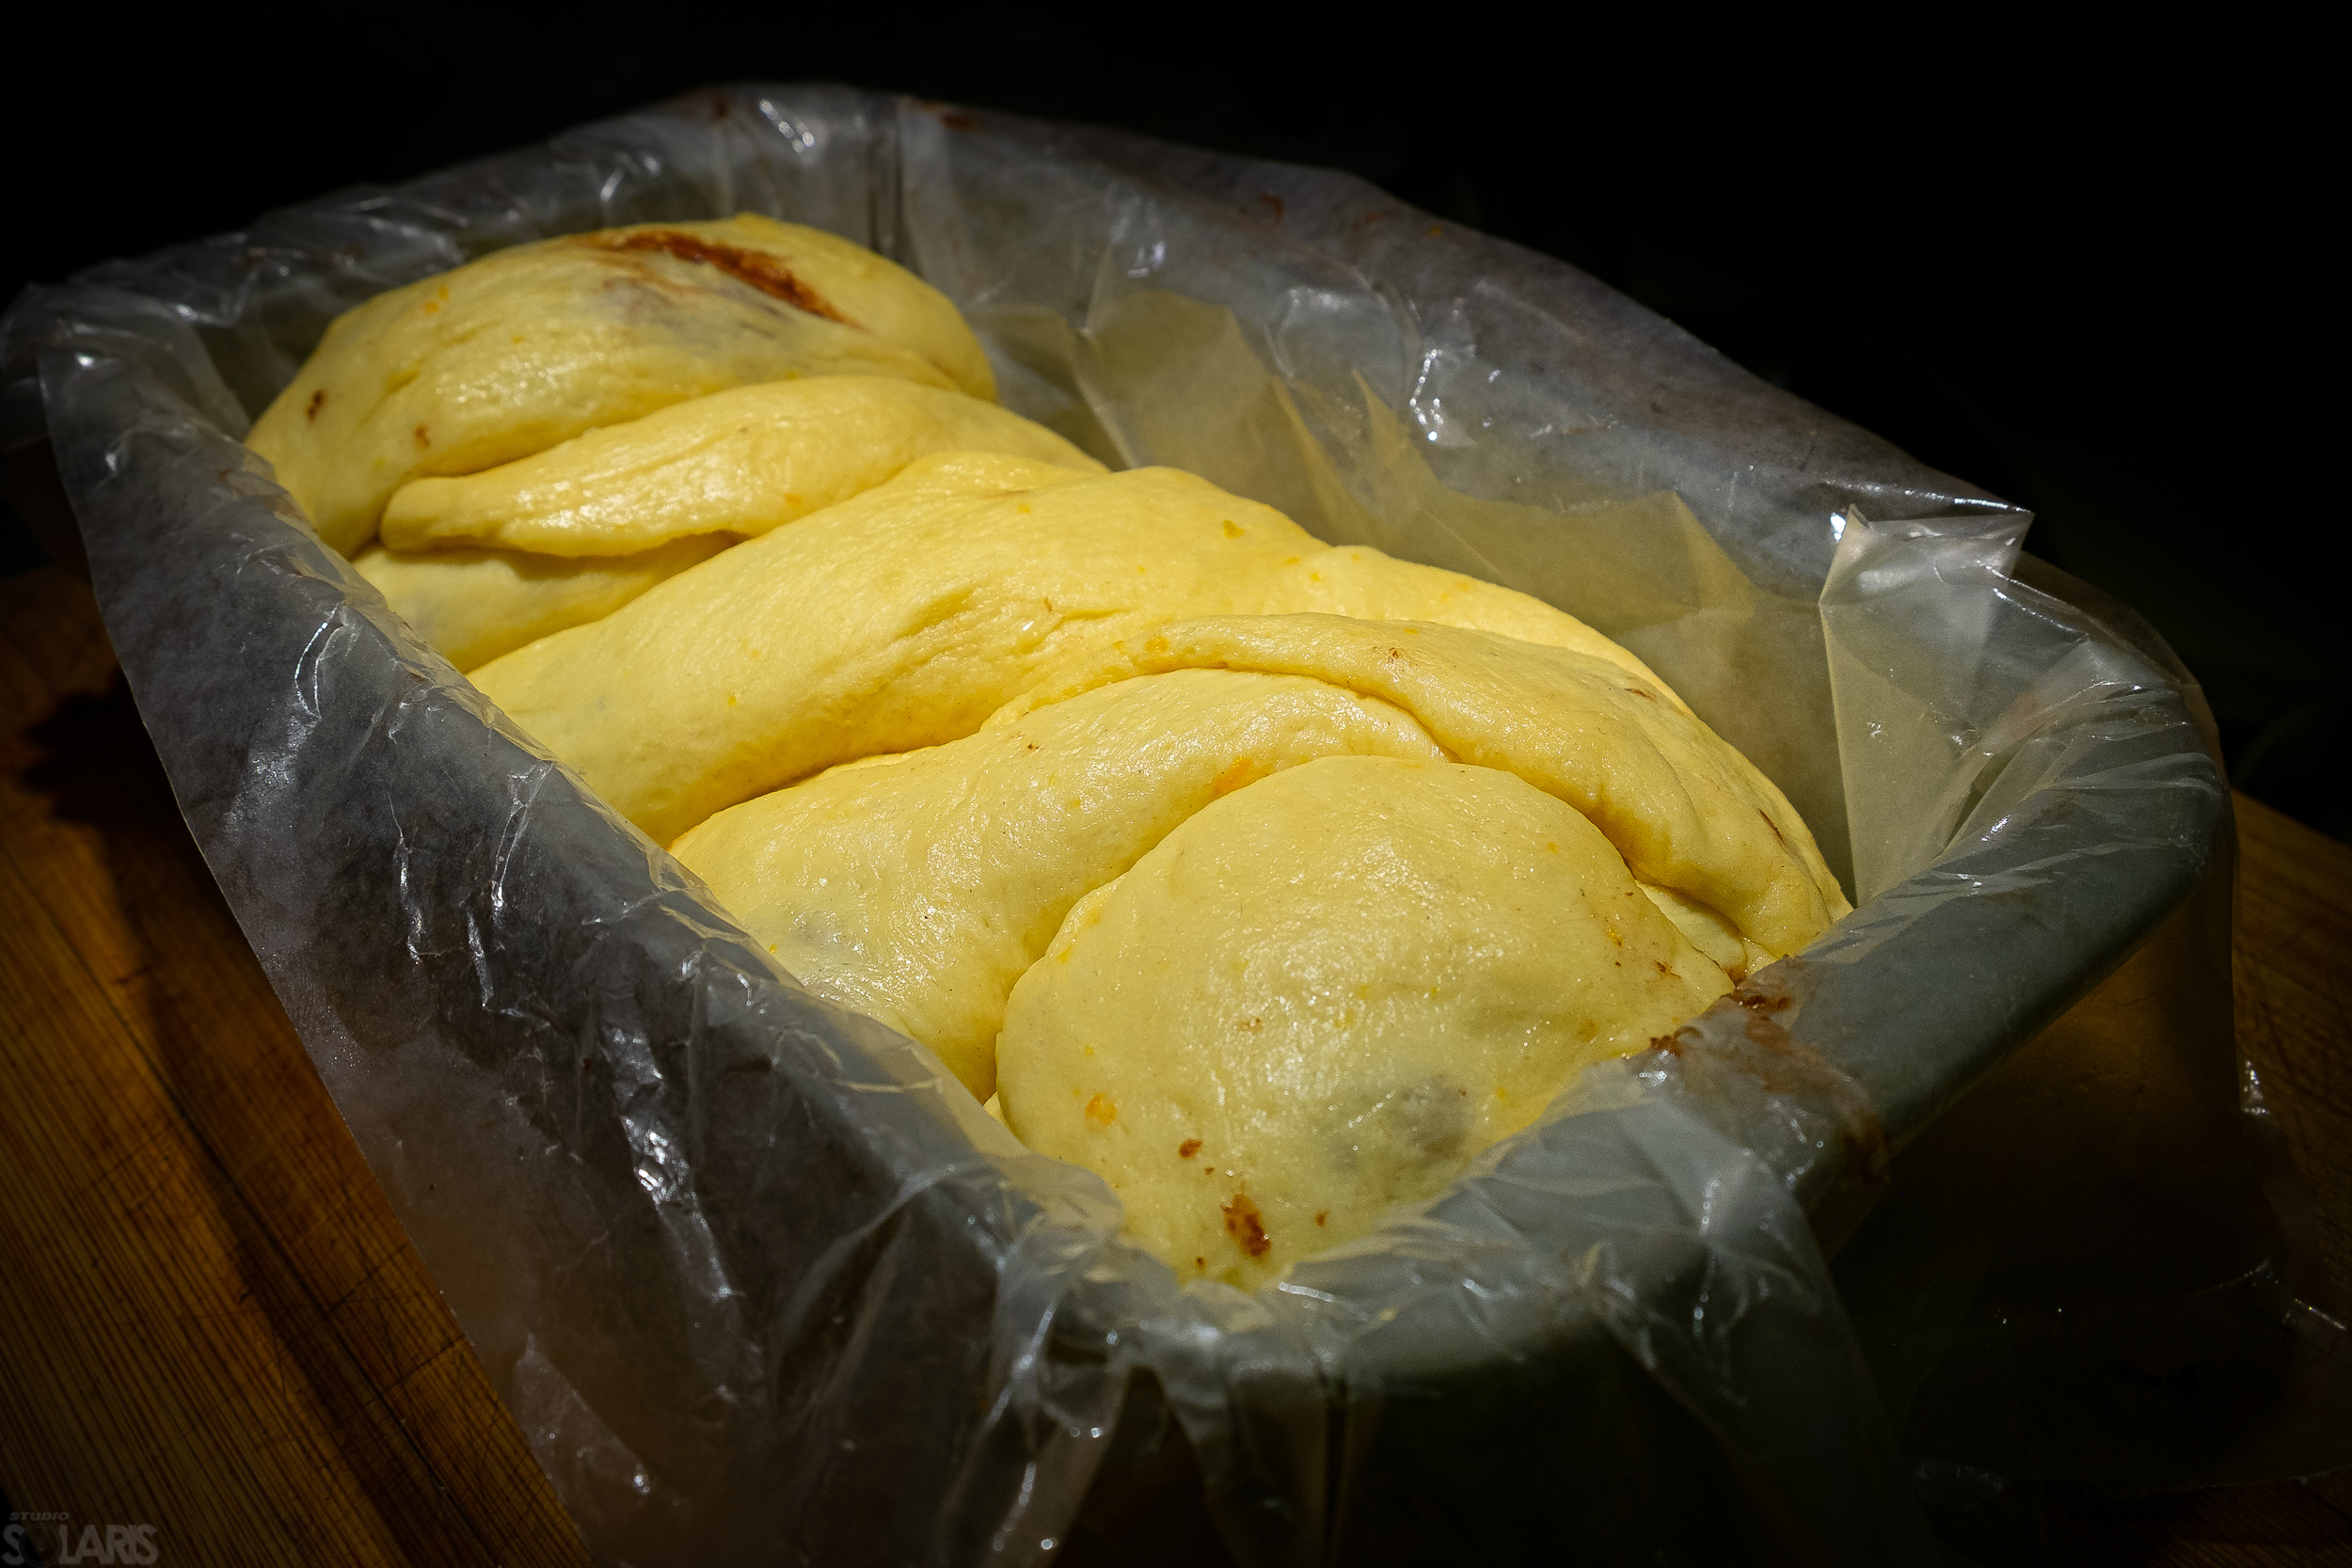
The two halves were “knotted” together and laid in a baking pan as you can see in the image. Also from the same picture it is pretty evident I won’t win any beauty awards with this thing… let’s call the aspect…ummm… rustic, OK? We’ll set it aside covered, to rise again for about an hour or so.
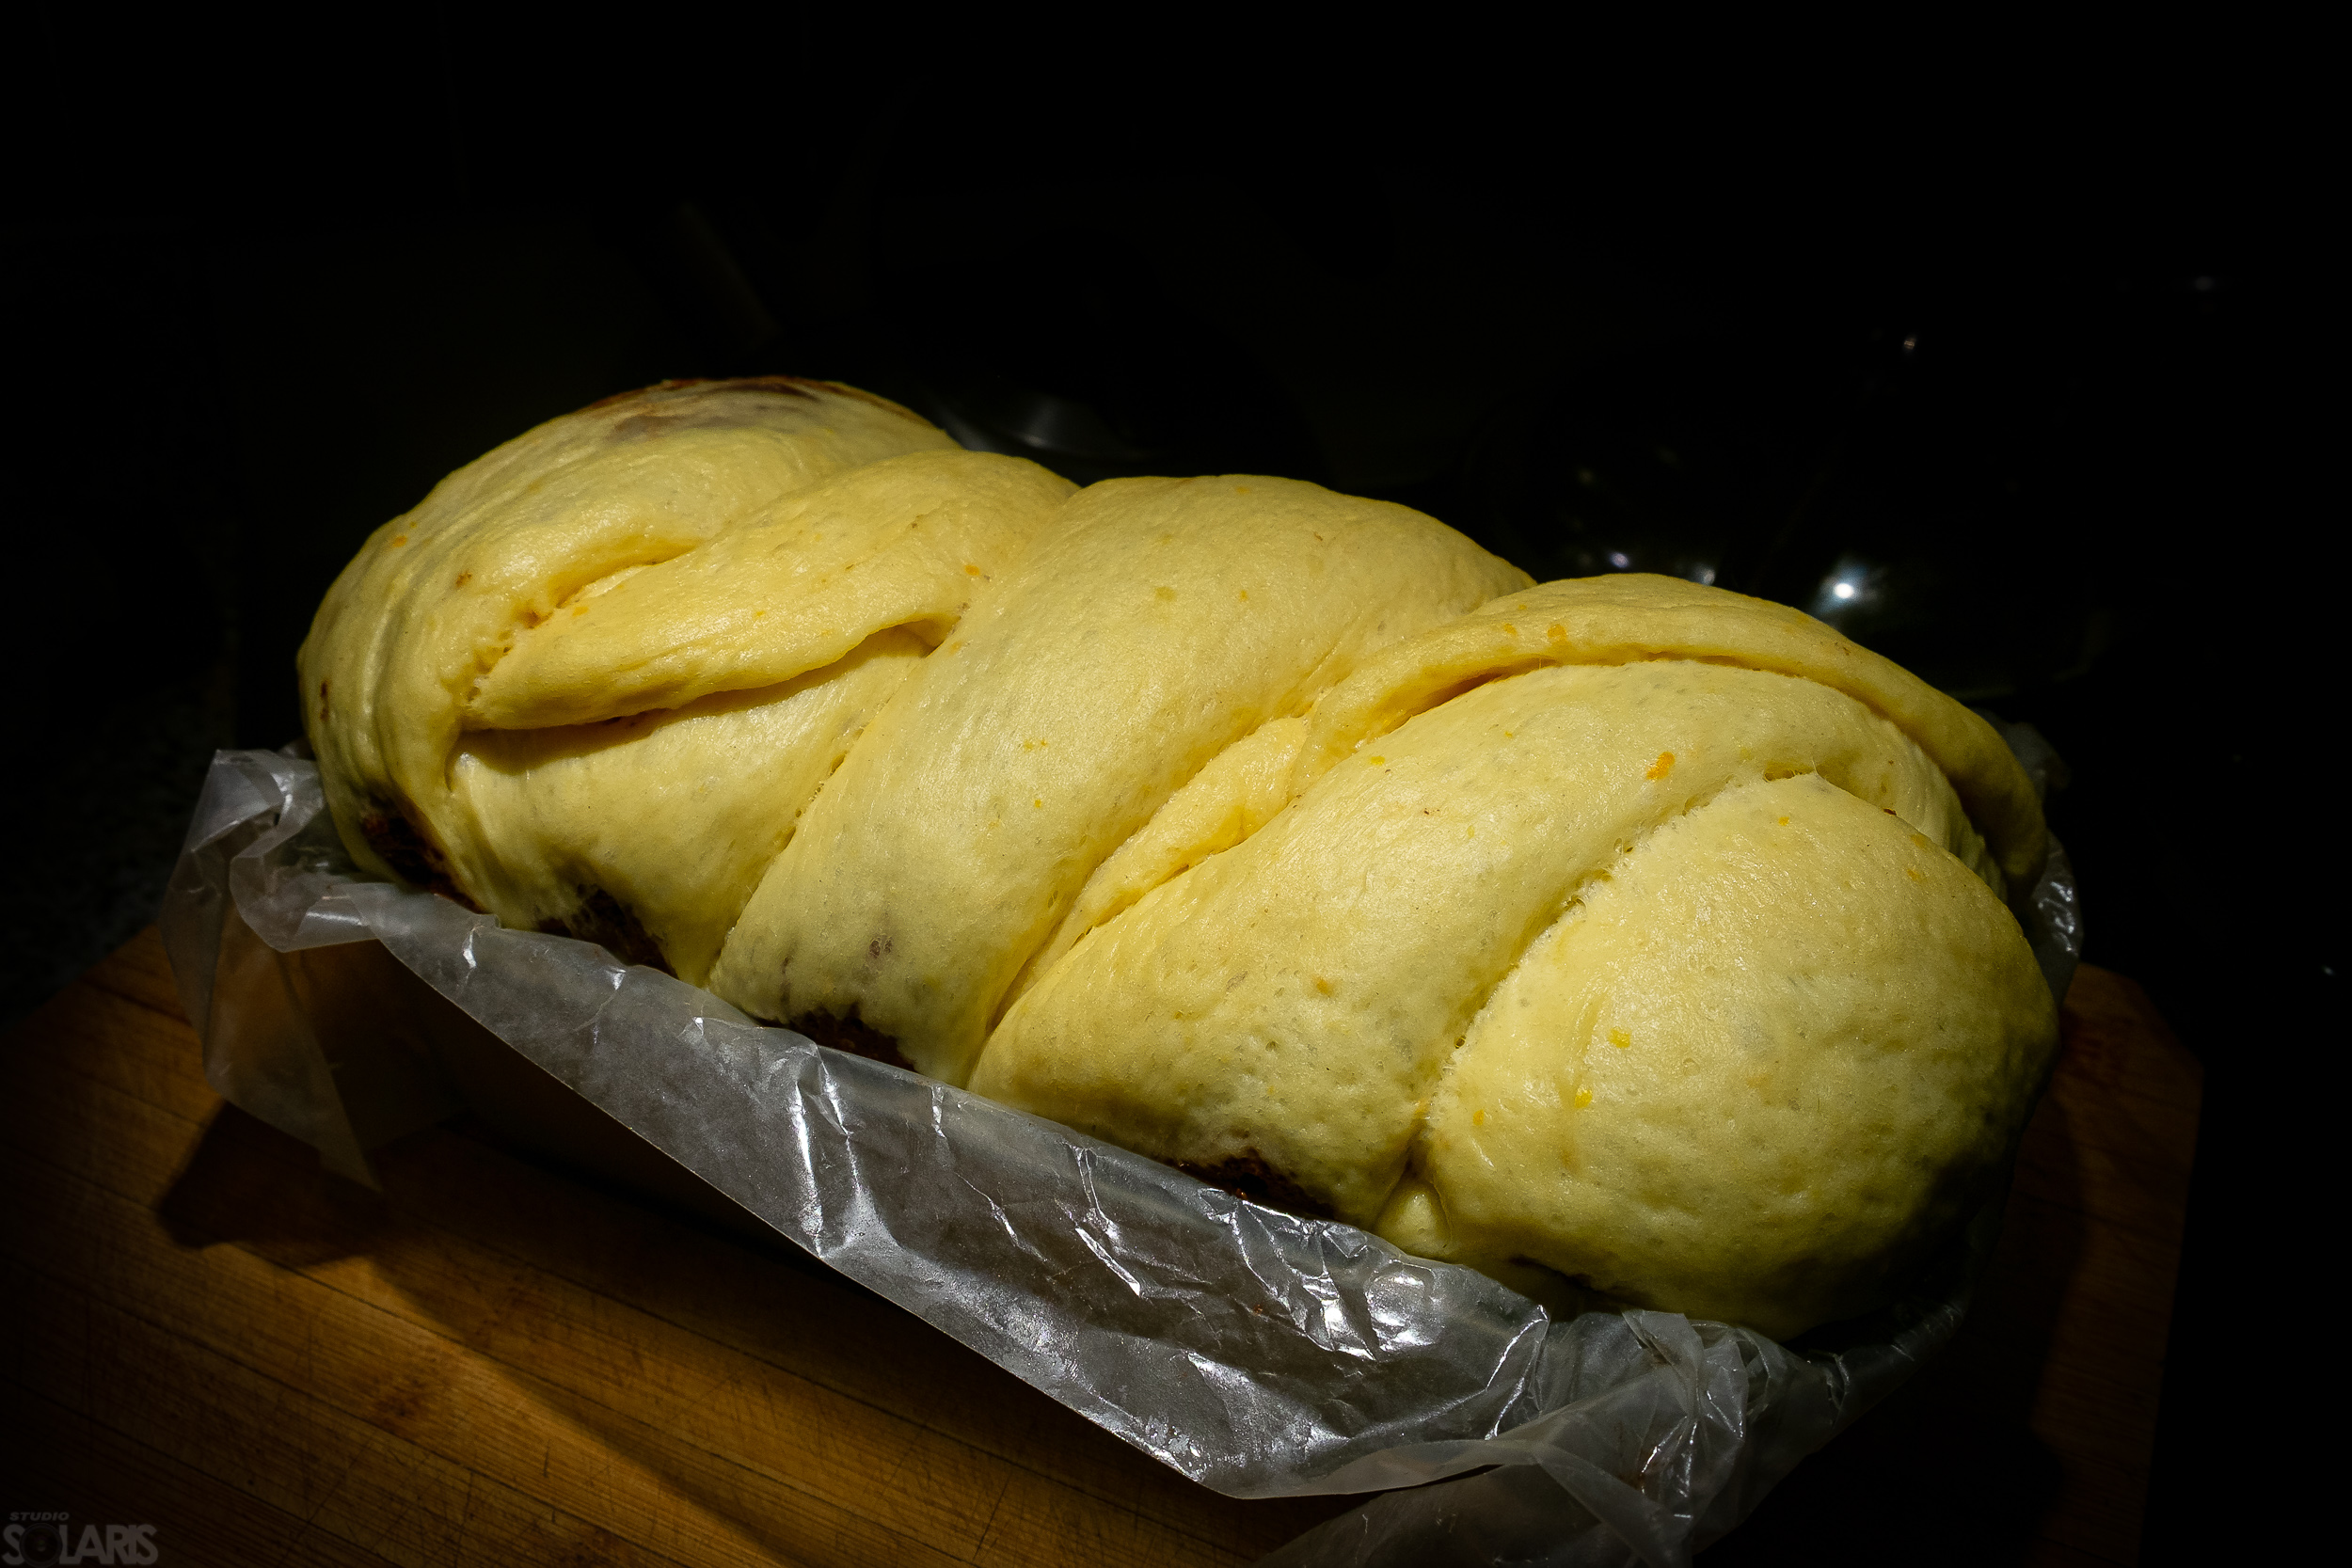
This is how it looks after around an hour of resting/ raising. Again patience is a virtue here mainly because whatever rise we get in this step is the one in the final product after baking. My Mom-in-Law and Internet sources posit “the Thing” will continue to raise while baking, however I can’t see how this growth could be more than maybe 5%. Logically speaking baking will only fix the existing structure, nothing else. Anyway, all that’s left now is to eggwash the top and set it in the oven
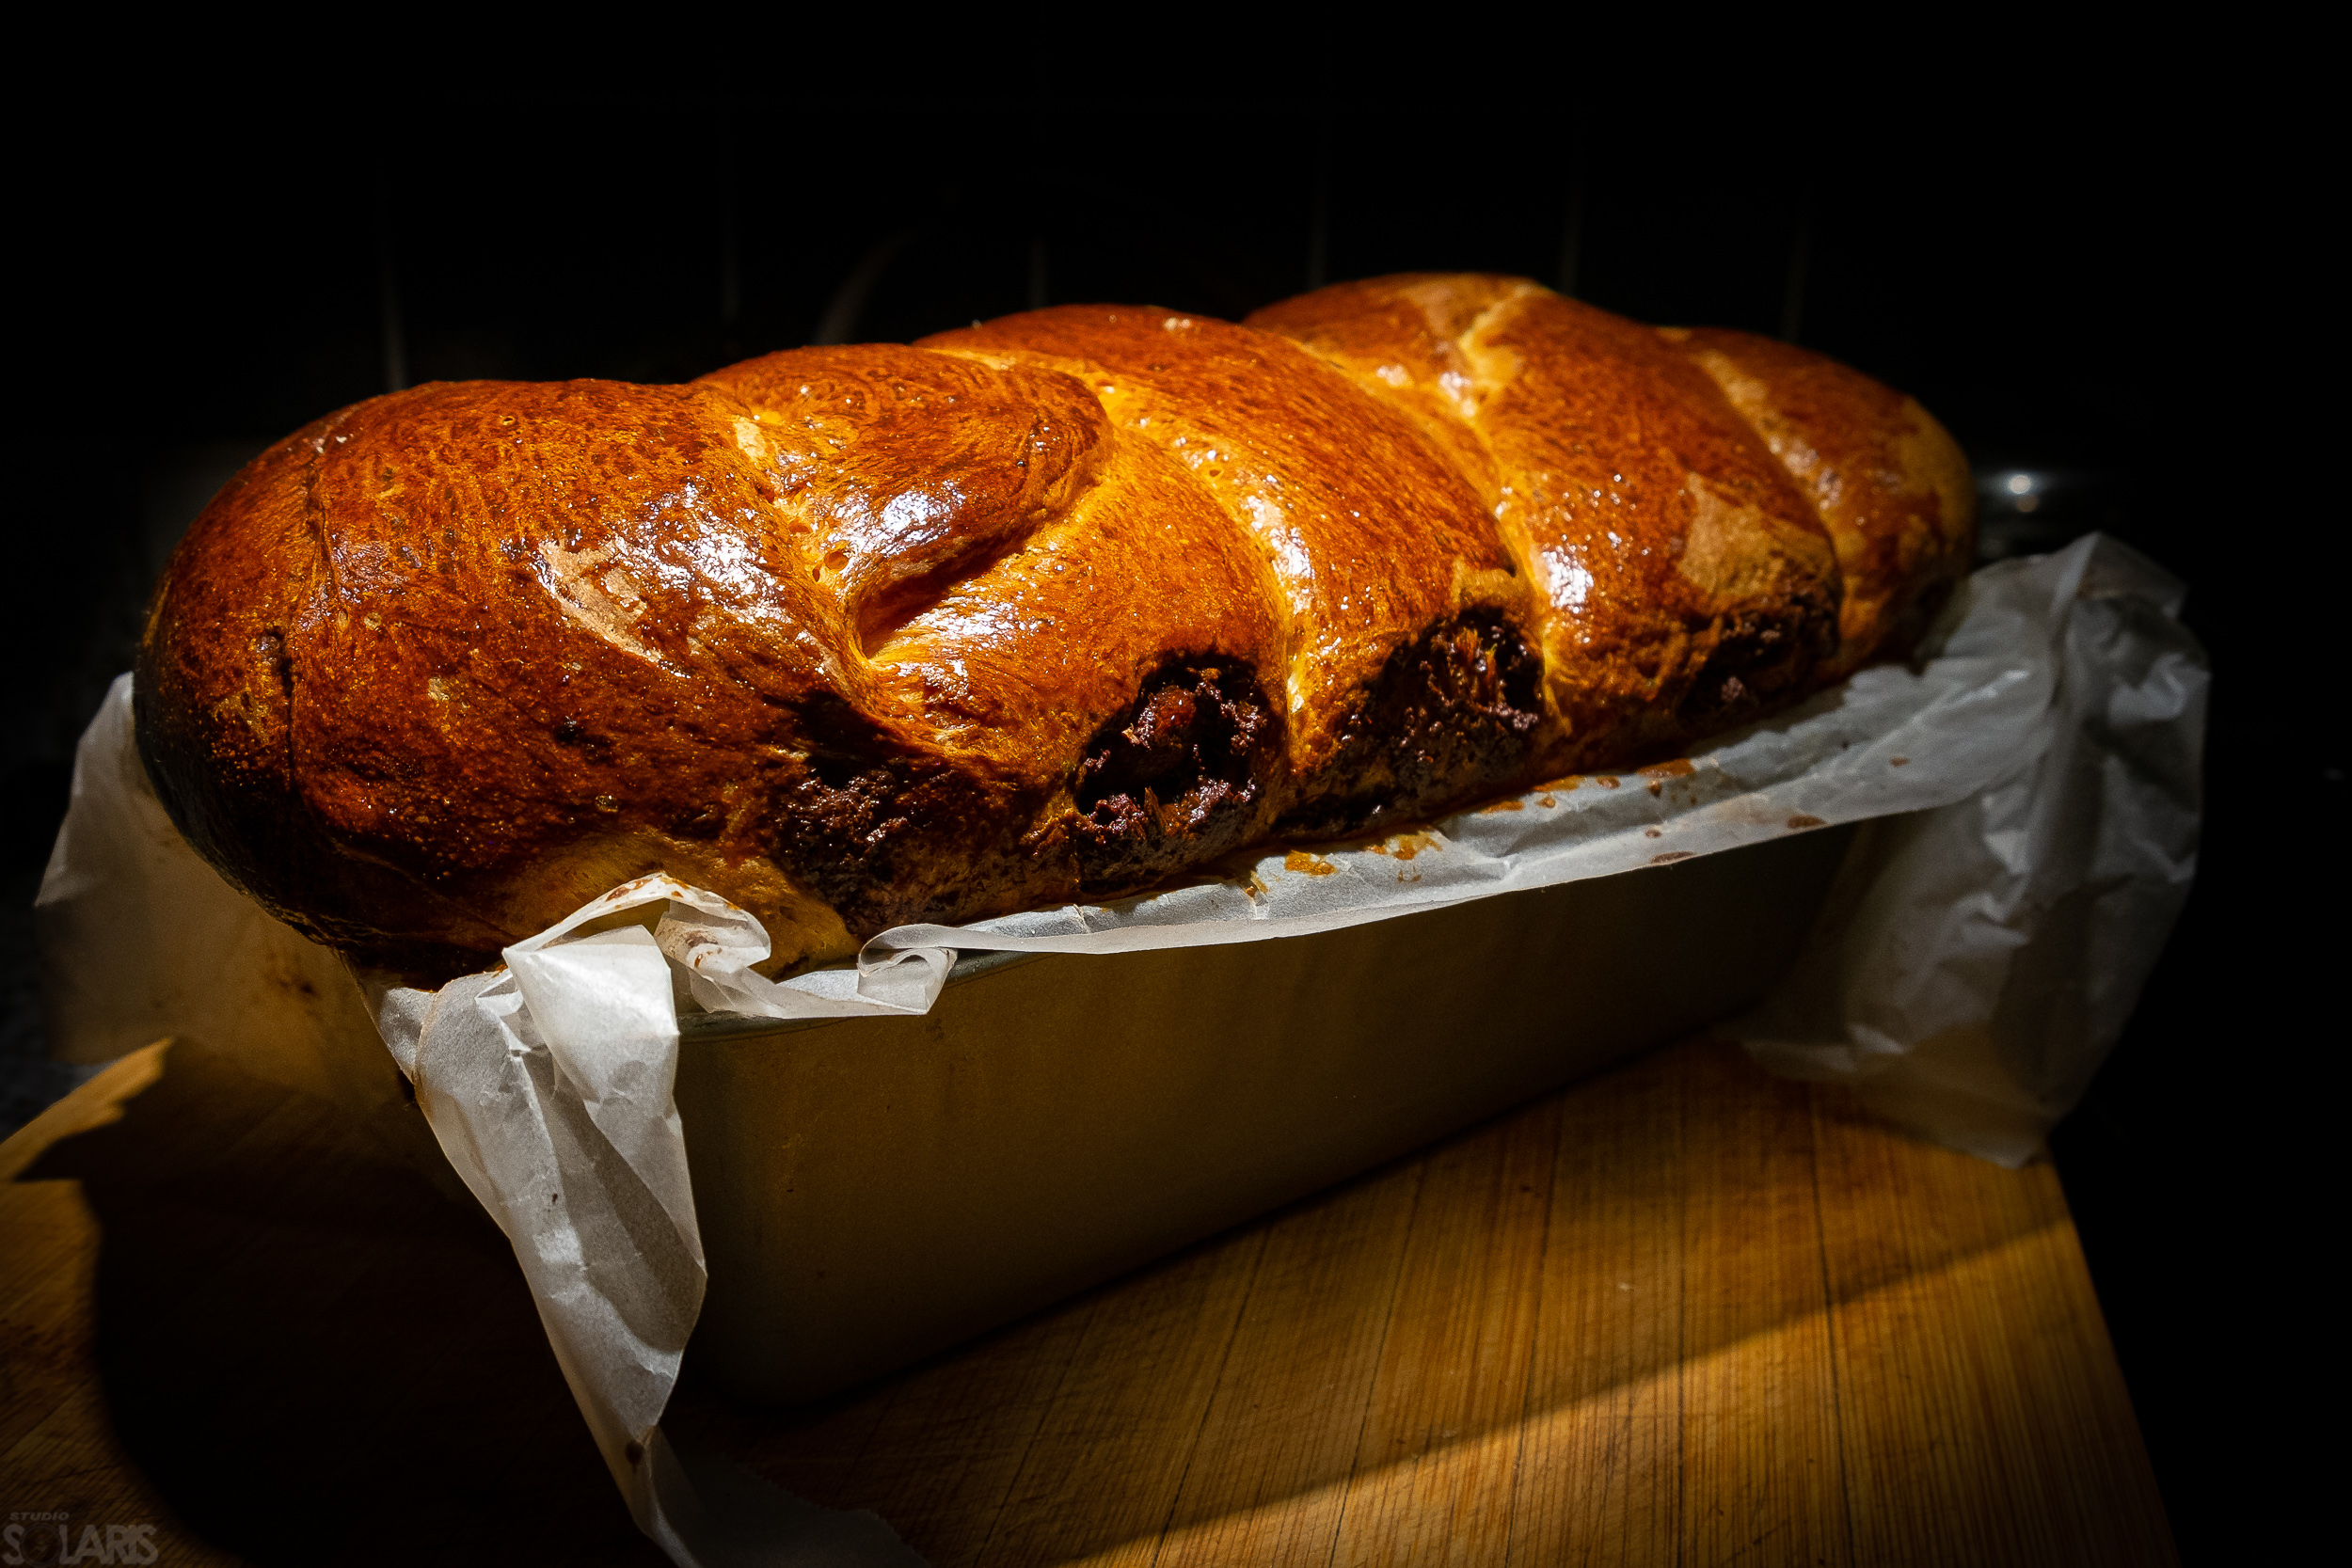
The proof is in the baking as they say. The process was started with the oven preheated at 350F and set on convection baking but after around 10 minutes it already started to smell good and done, so, contrary to the advice on the net, I opened the oven door, noticed the top was already staring to brown and decided to lower the temperature to around 325F. The process seemed to settle nicely so I let it in peace for around 30 minutes. Upon checking it I decided to keep it in for another 8-10 minutes.
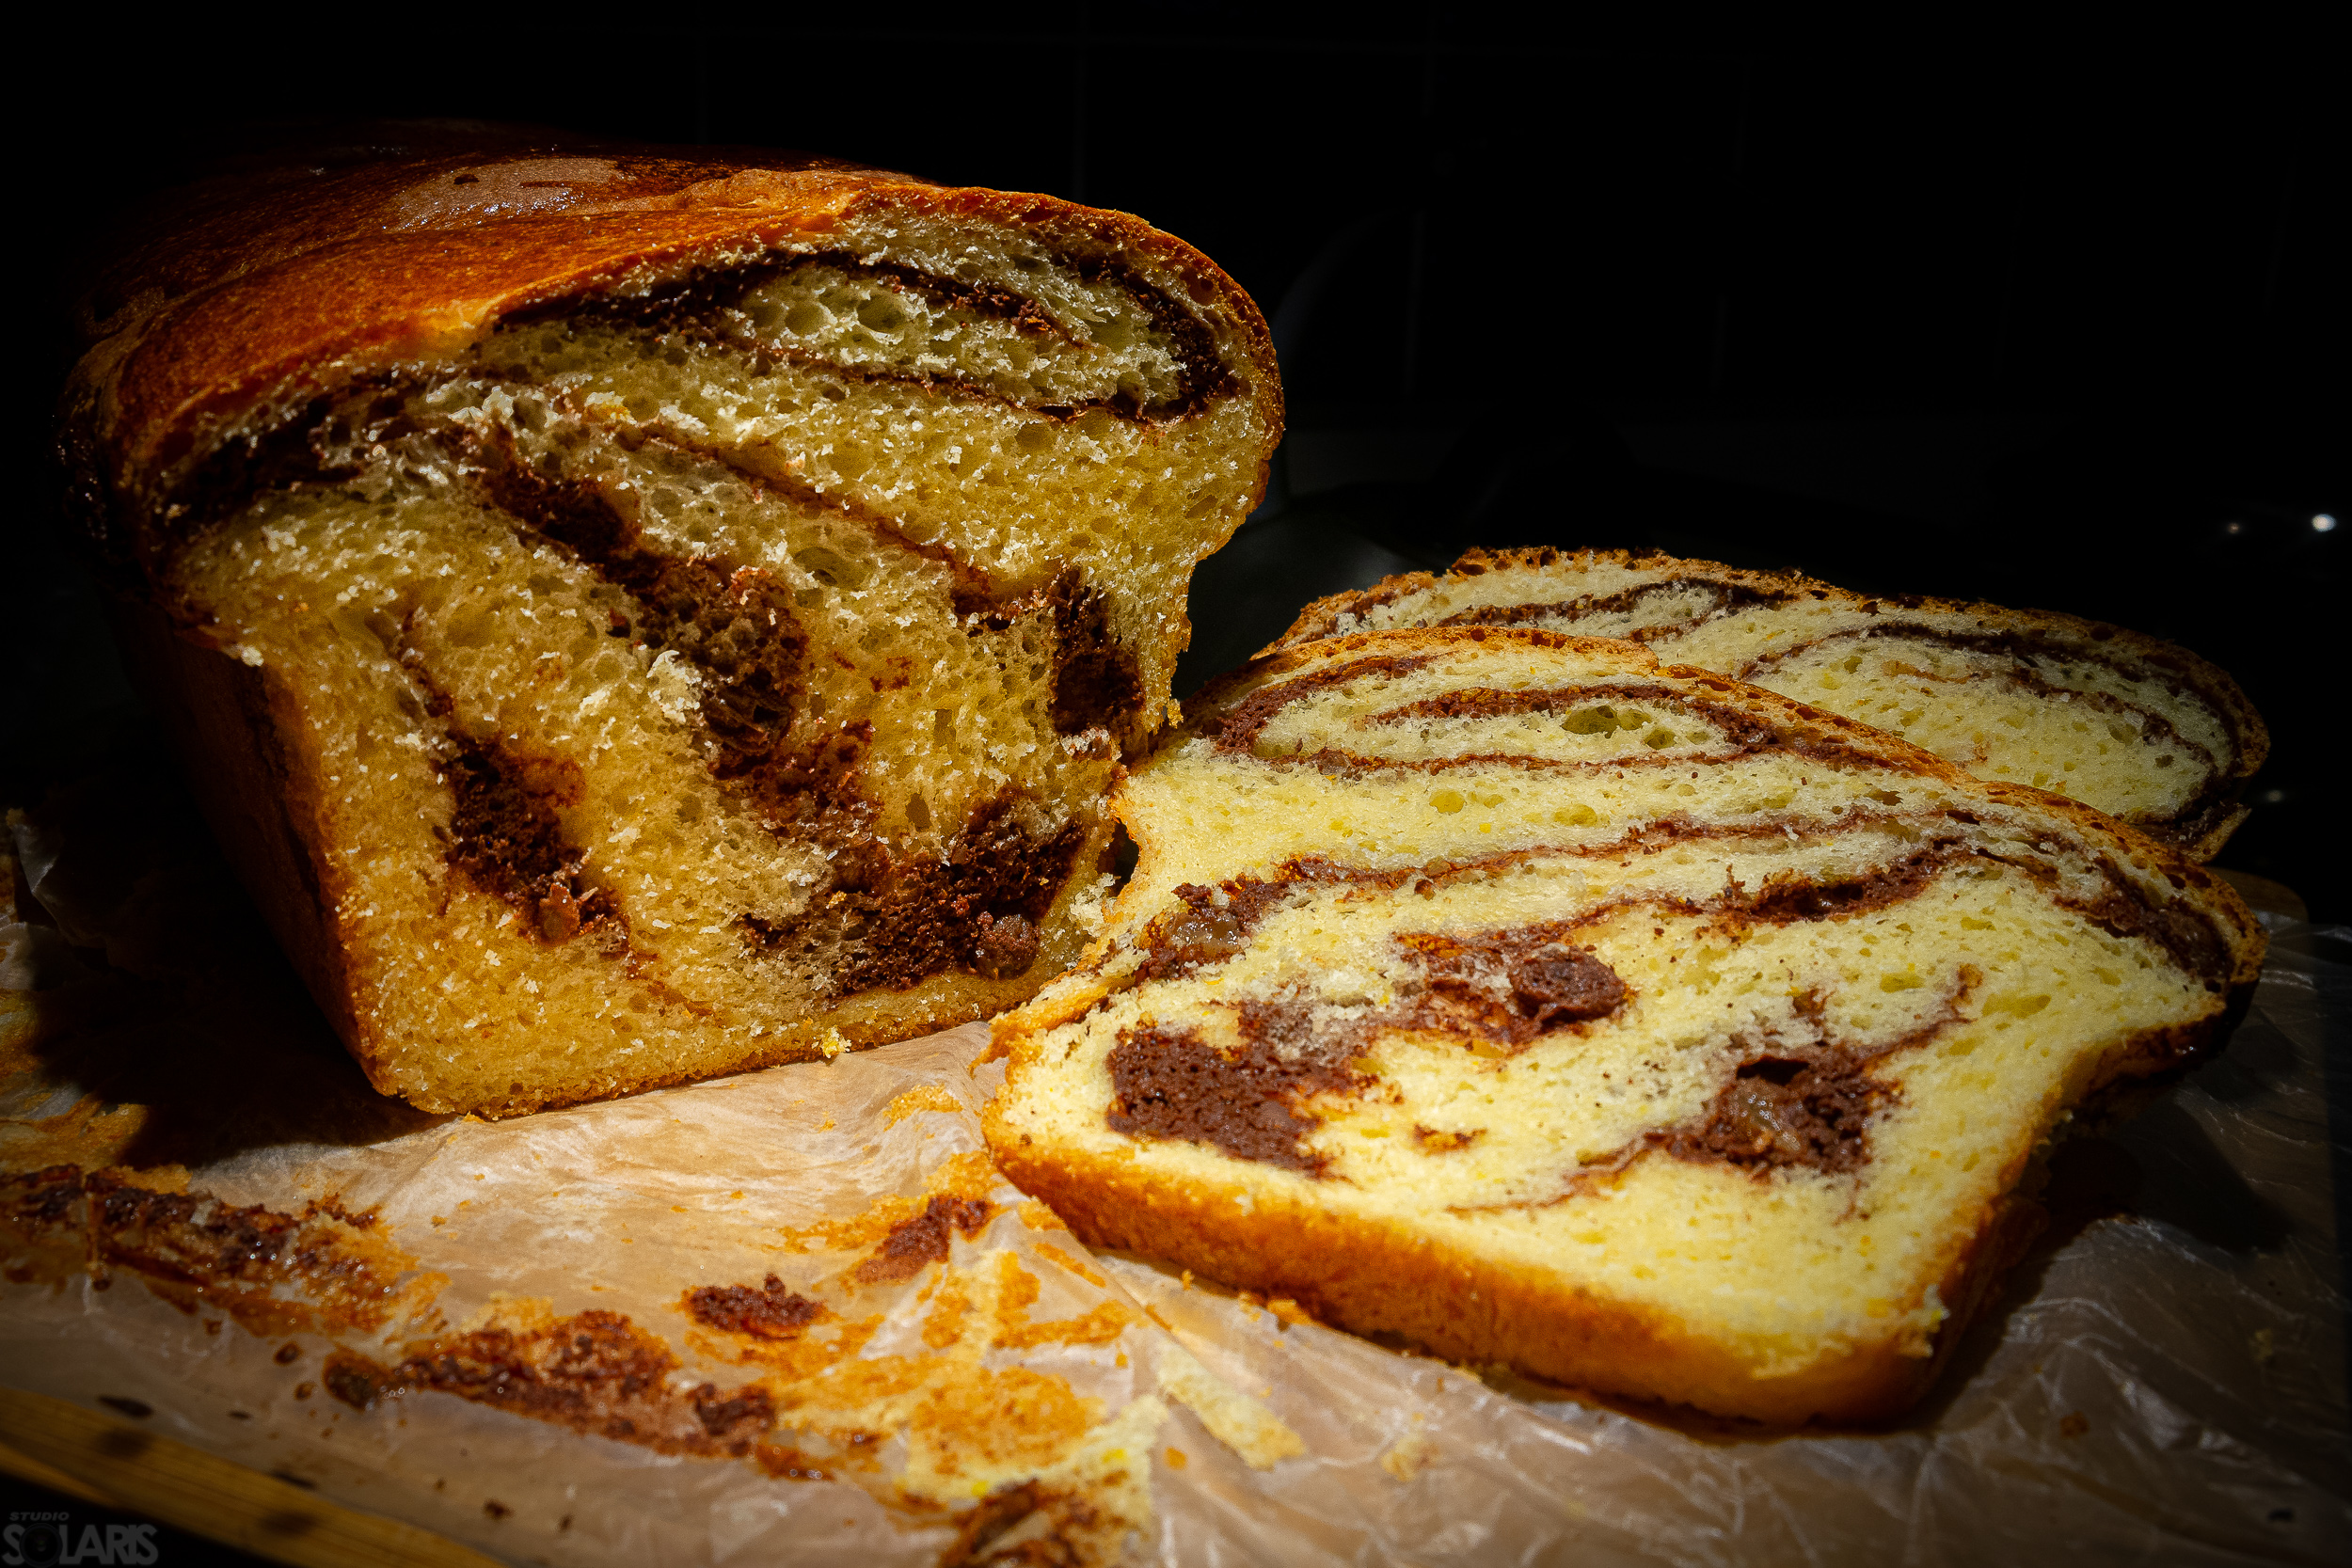
Call it beginner’s luck but the results turned out quite exemplary. I got praise even from my Mom-in-Law and that is rarer than rain in the Atacama Desert. Essentially it is aerated, a little moist and not too sweet.
Next time I may play with more aromas, perhaps some different dried fruits. Maybe adding some good quality dark chocolate? At the very least I have a decent starting recipe in which the mixer does all the heavy lifting.

And this is my favourite breakfast on Christmas or Easter Morning, a slice of Cozonac and a cup of warm milk. Sometimes I spread a little butter on top… to make it even smoother. Not too bad I might add.

Recent Comments