Just the other day, my daughter sneaks on my blind spot with this innocuous question: Faja, how come you never, ever made a cheese toastie? I’m afraid I had no good answer and that’s odd considering all the complicated, time consuming dishes I made along the way. I mean, it is a cheese toastie, a simple, heartwarming, cholesterol special treat, my kind of treat. Obviously the situation was in dire need of redressing, so it was the time to dive in the internets for the perfect cheese toastie recipe. This one by Jamie Oliver seemed interesting and completely open to interpretation so here goes. You didn’t expect exactly “simple” from me, did you? Ok this one has a crown. Yes, you heard me right, a crown!

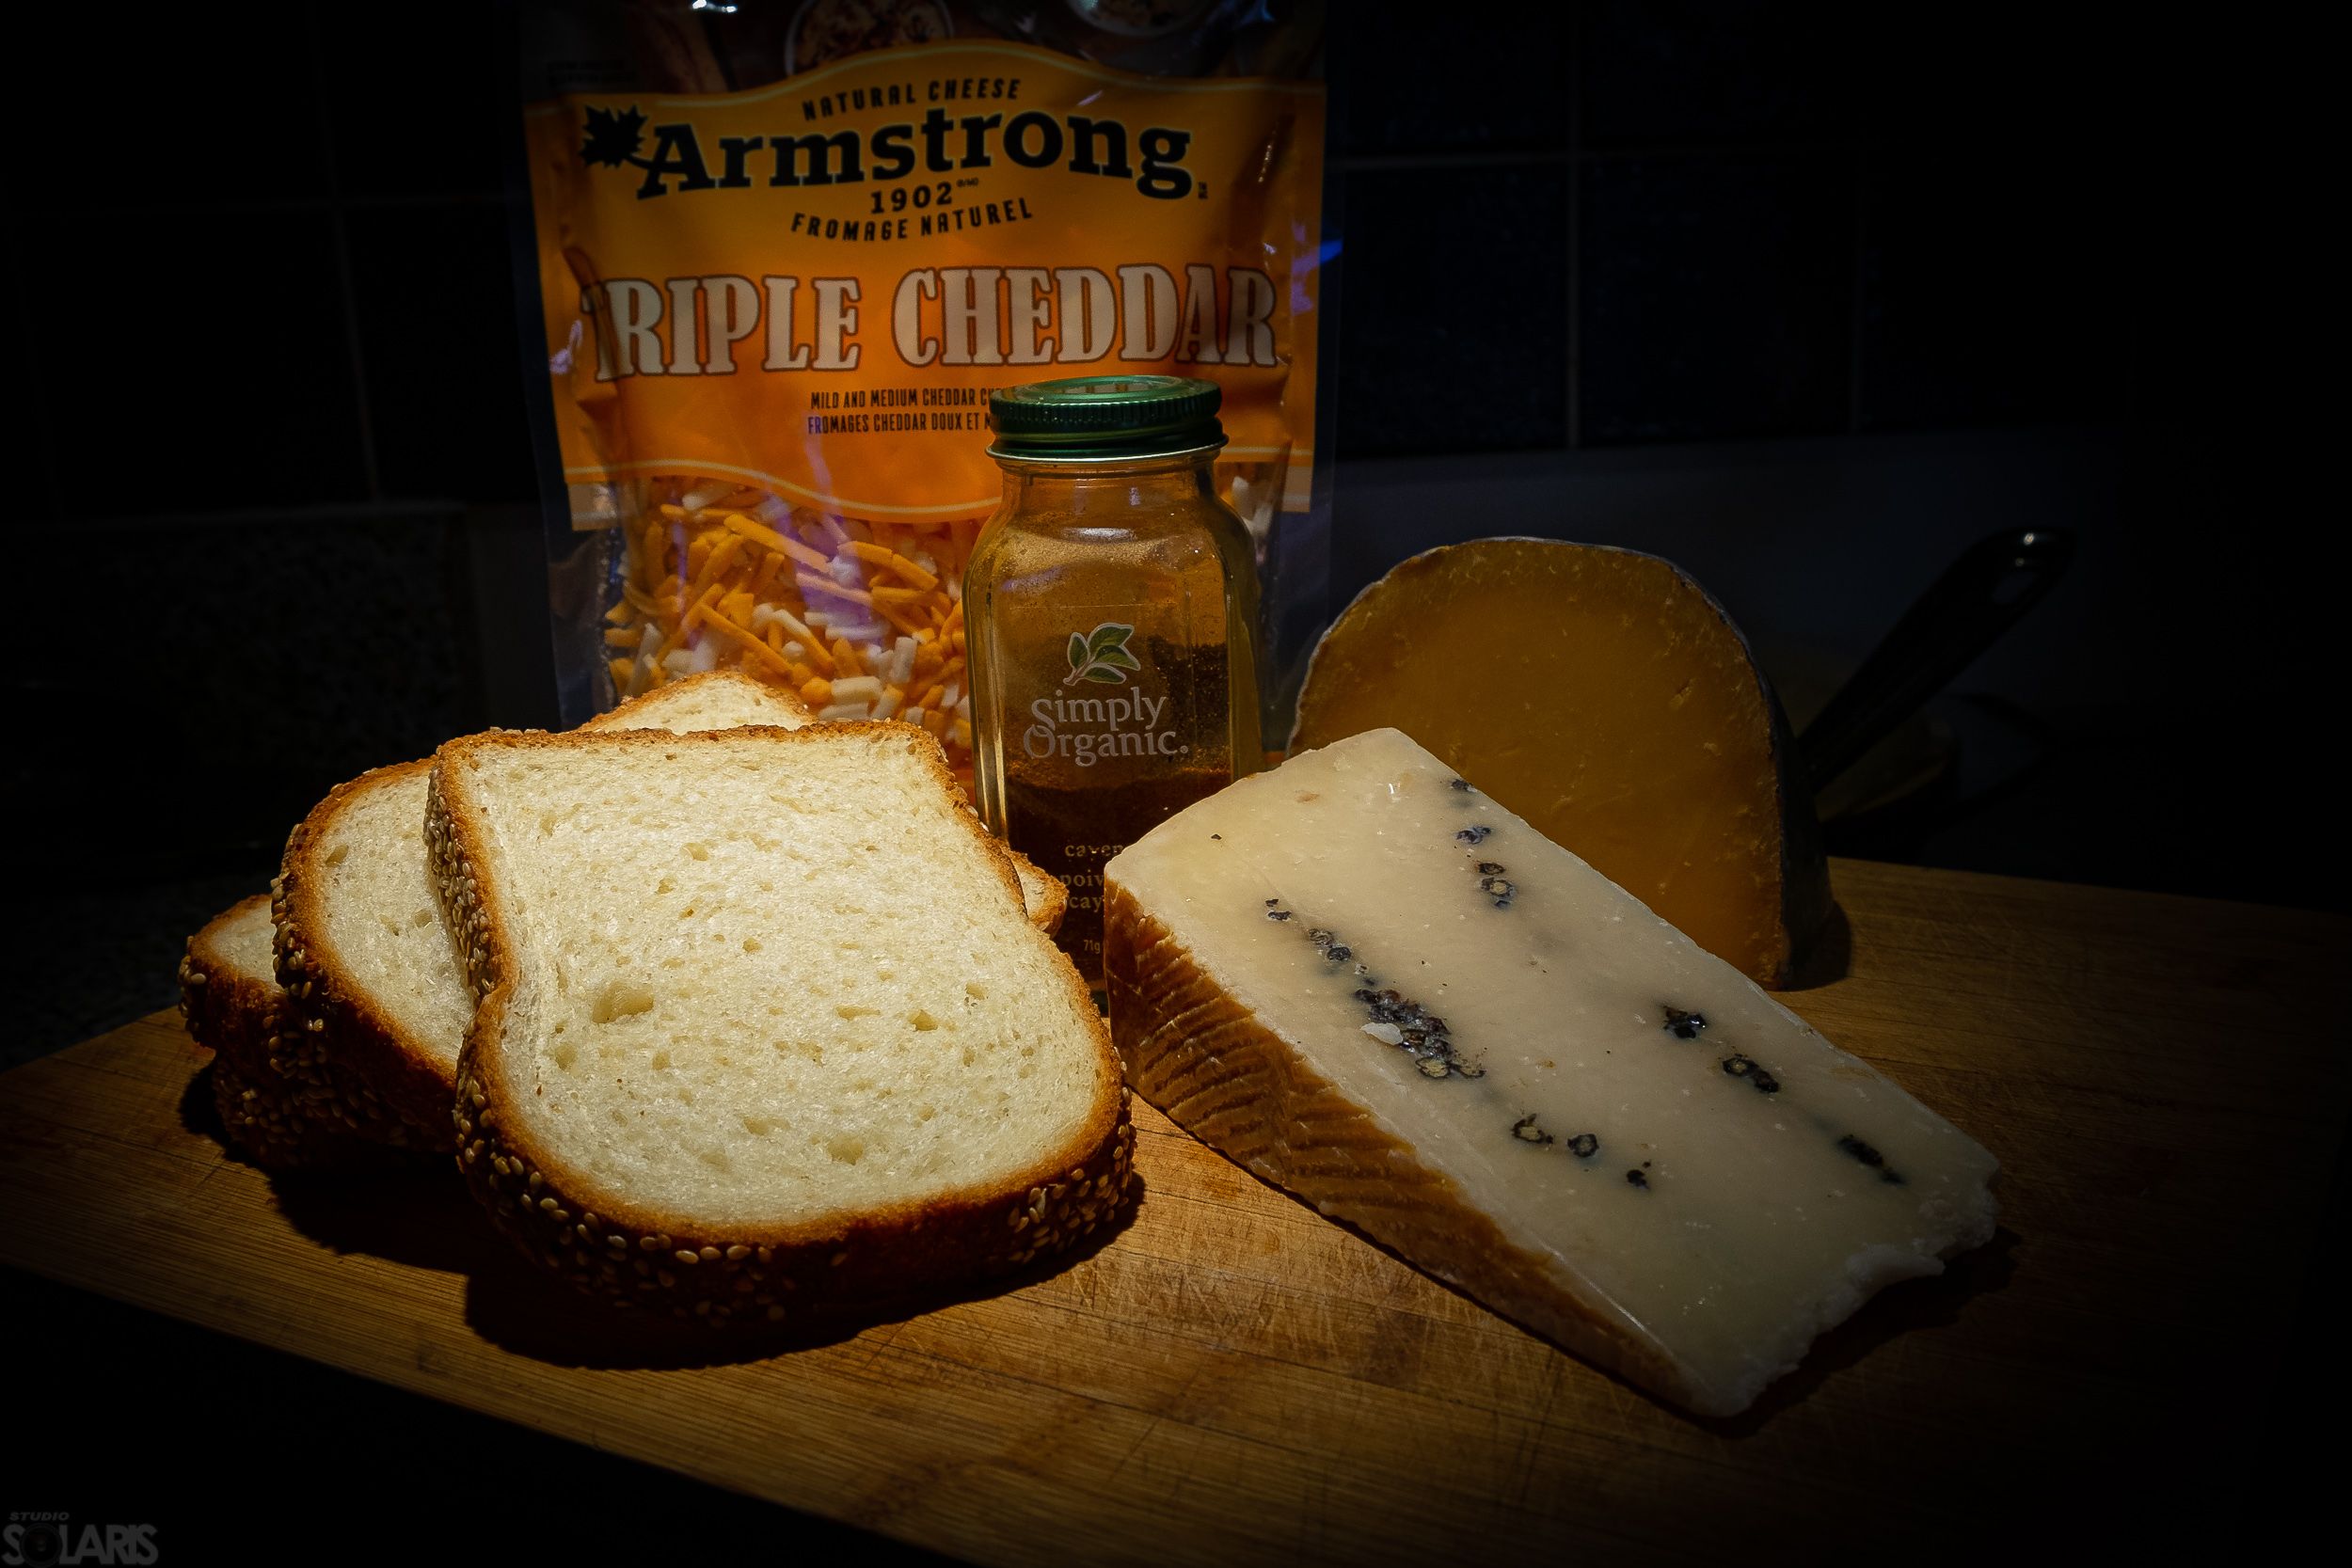
A quick raid thru the fridge yielded some interesting cheeses: shredded triple cheddar, Pecorino Romano and Old Amsterdam. Can’t make a toastie without bread so here’s some sesame kind from Ace Bakery, something nice and spongy which will help bind the toastie together. The Cayenne pepper is to tailor heat according to the individual taste, a bit of hum to Sandra, a song to me and a hymn to Natalia who’s a declared spice addict.

I’ve spread a thin layer of butter on both sides of each slice, then loaded them up with the shredded cheese combo, taking care to cover well the whole surface. A whisper of Cayenne pepper followed, according to the individual taste preferences. All that’s left now is to “close” the sandwiches and press them firmly.

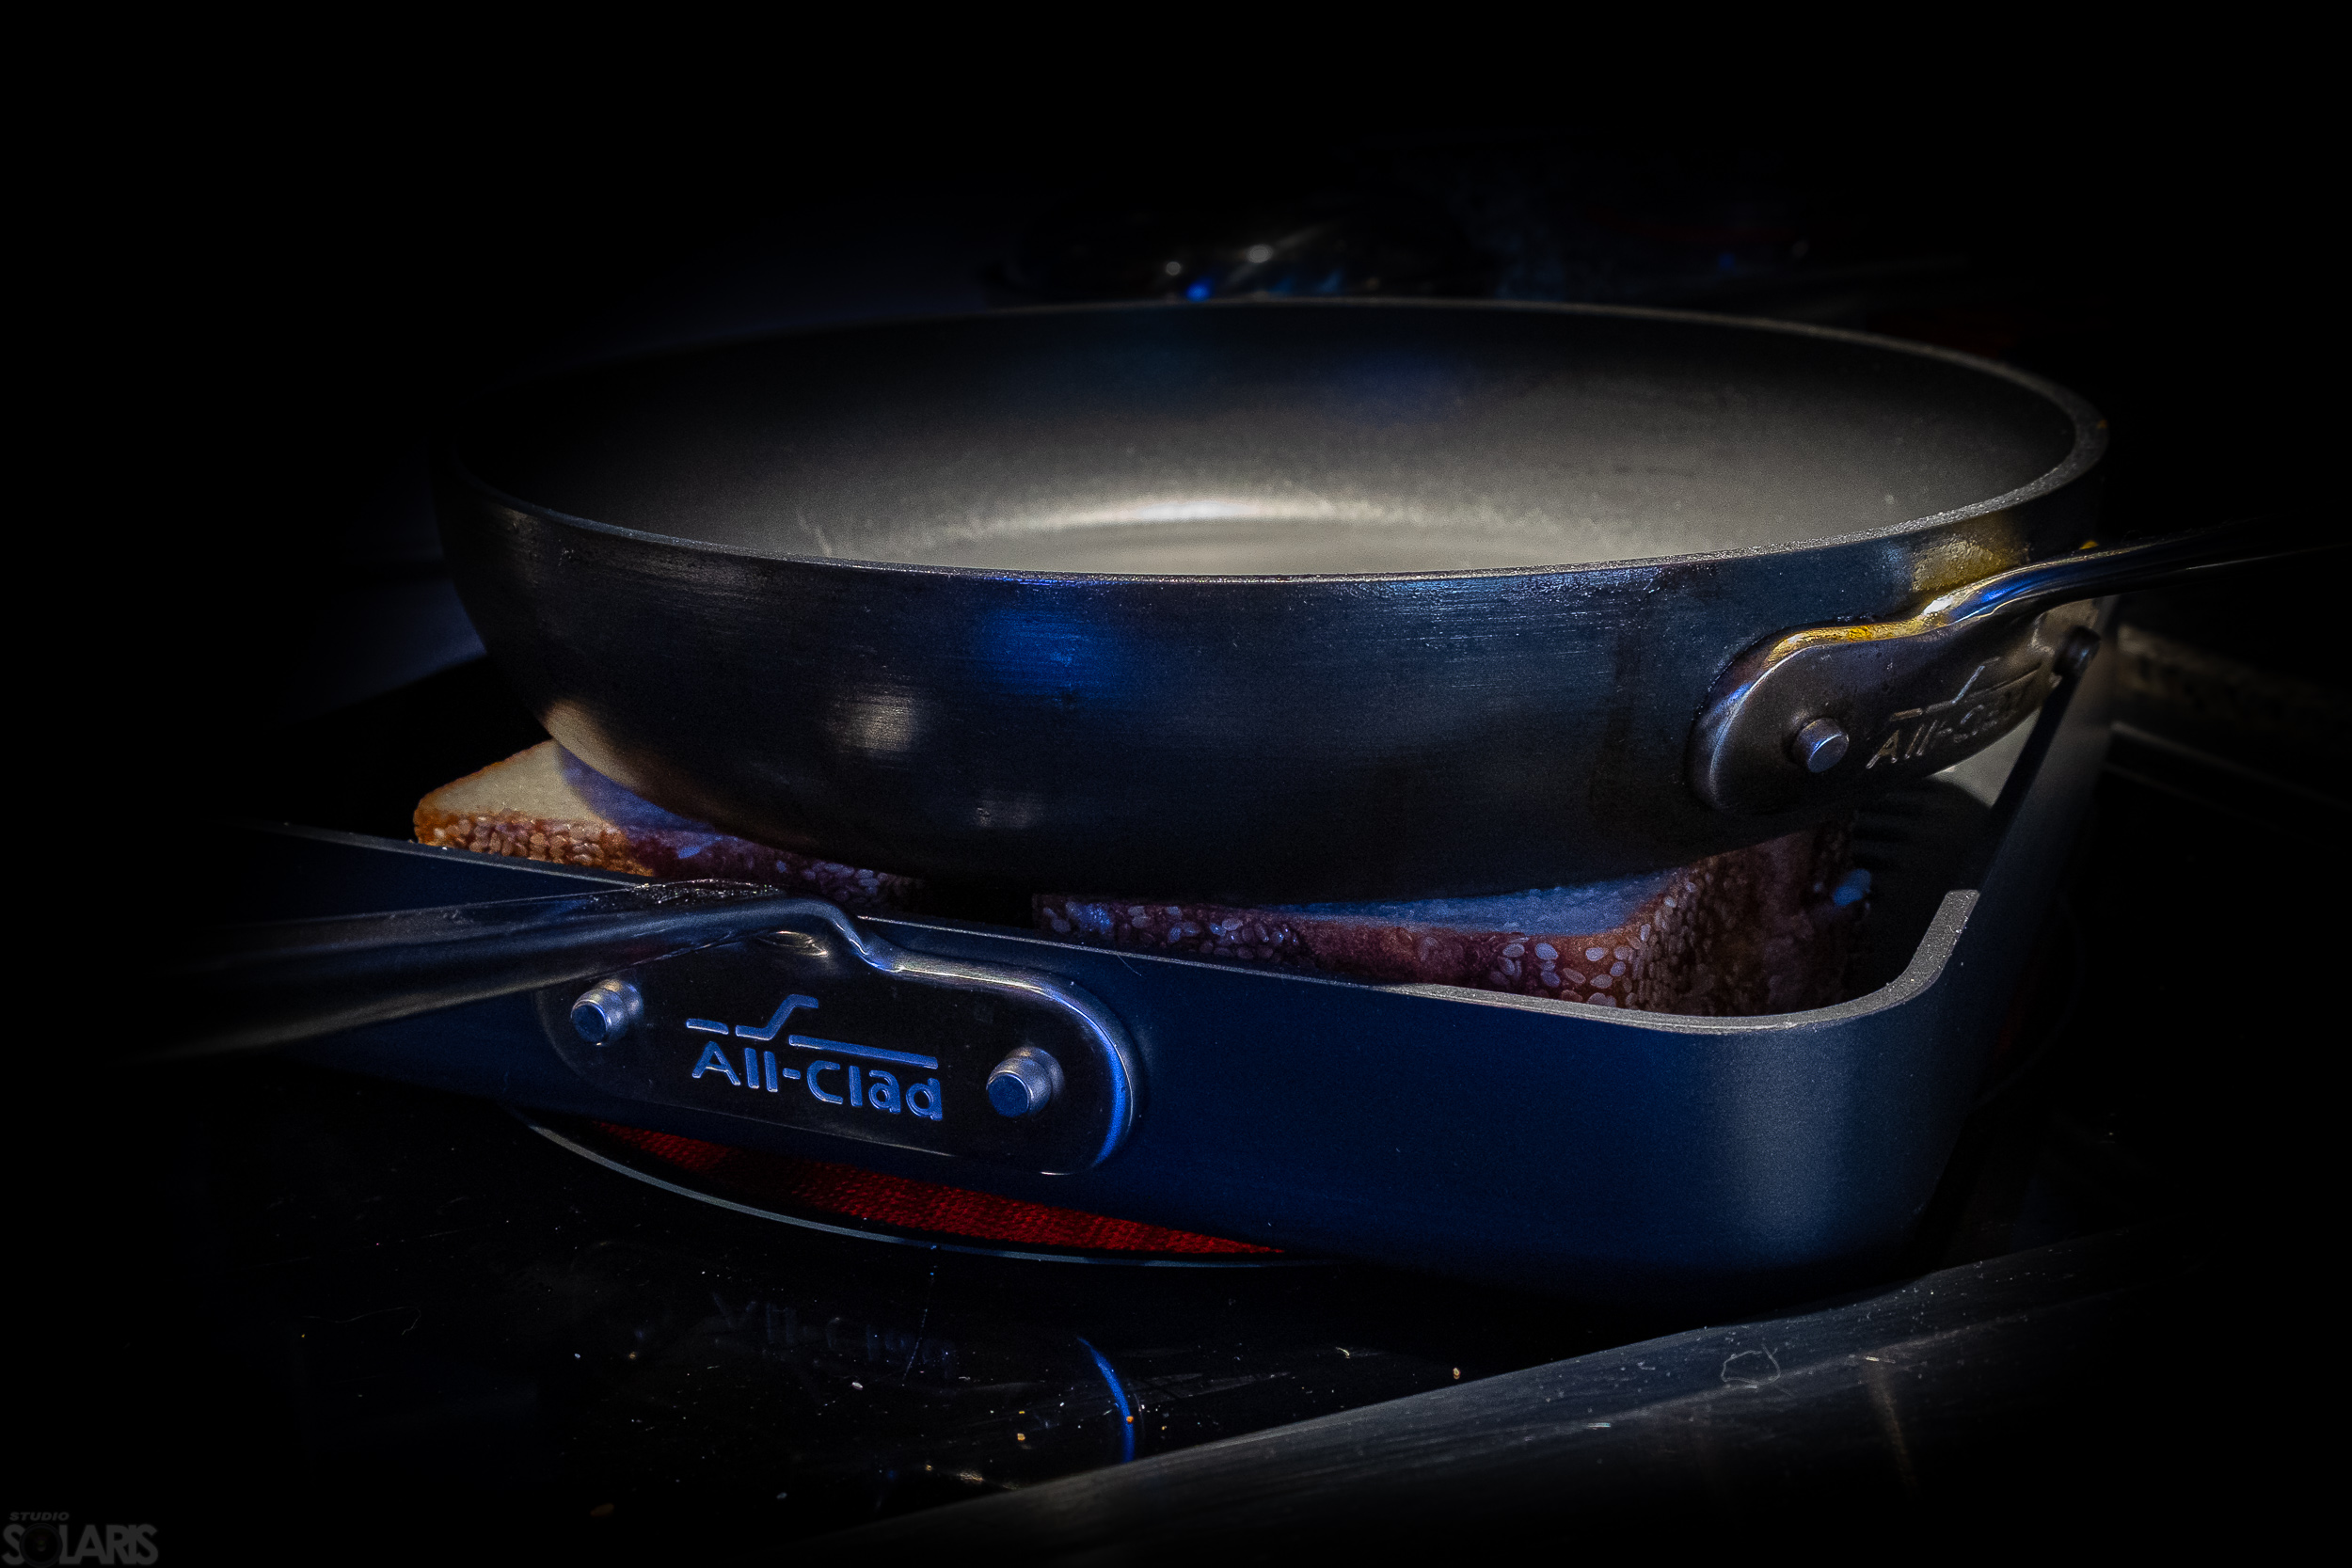
There are a few tricks involved in toasting these. It needs to be done over medium-low heat, otherwise the exterior toasts before the interior has a chance of melting. Judicous use of heat will have the inside nicely done just as the exterior is browned and wonderfully crispy. Making sure the base of the cheese filling is a melting one, like cheddar in this case, gets the slices nicely glued together, a must for the toastie’s structural integrity, plus some delicious drippings on the sides. Another trick is to press down on the toasties so their whole surface becomes uniformly browned. Use of a good nonstick pan is paramount as you can imagine and this new griddle I got from Santa last Christmas is about perfect.

Toasted on both sides, nice and perfectly crispy!

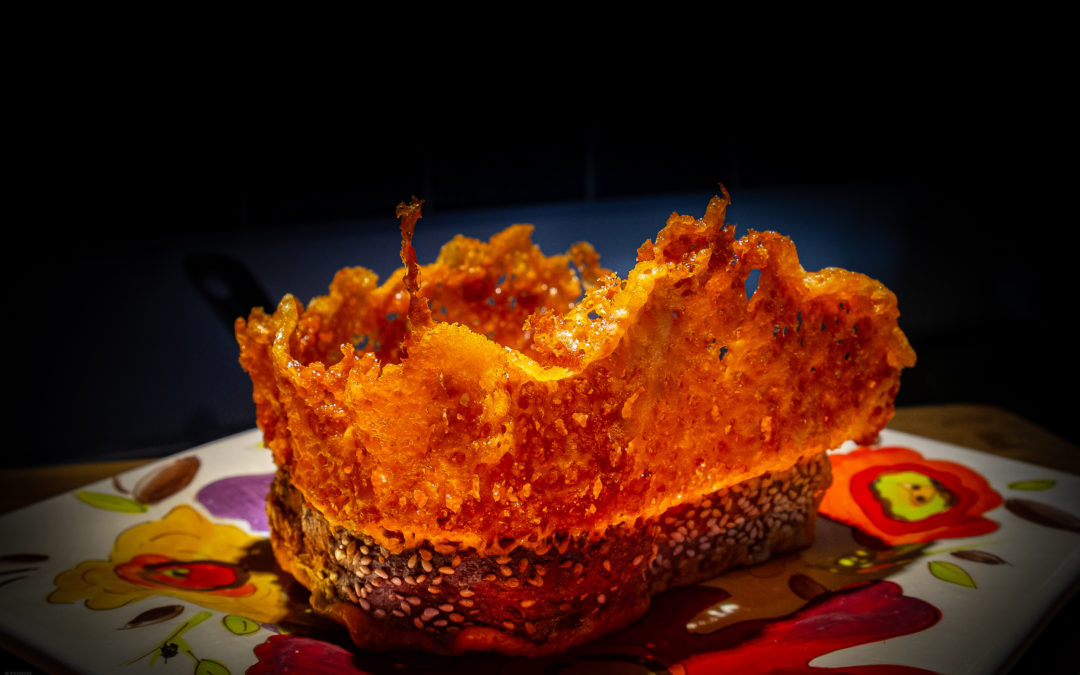
Now comes the crazy part, the crown. Another, flat nonstick pan is used for this process which starts by sprinkling a bit of that shredded cheese mix, then setting the toastie in the middle. We’re still using low-medium heat here and soon the cheese starts bubbling and the fat from it starts separating. When the cheese starts to brown a bit we use a spatula to draw it closer around the sandwich, then, using the same spatula we slowly start lifting the toastie from the pan. The cheese stretches a bit before it lifts from the bottom of the pan and will dangle. While still holding it over the pan, the cheese starts to cool and harden, about 30 seconds being enough to have it stiff enough to hold shape when the toastie is flipped up.

That’s quite the crown, eh? You might be wondering how you would eat this beauty, exactly. Well you need to be patient first as the inside is about a million degrees and will mercilessly stick and burn your mouth. While the toastie is cooling a bit, you can start breaking the crown and set it aside to be eaten with the sandwich. It is also good for dipping should you decide to push this dish calorie count even higher via a dip of some sort, as unfortunately, many of them will work beautifully both on your taste buds and on your arteries. Finally you can cut the toastie in half diagonally and have at it. To say they were delicious would be an understatement. We inhaled them. Them toasties will become part of our breakfast rotation!

Recent Comments